


Lunar Photography | a guide to your astro set-up
This entry was posted on February 9, 2020.
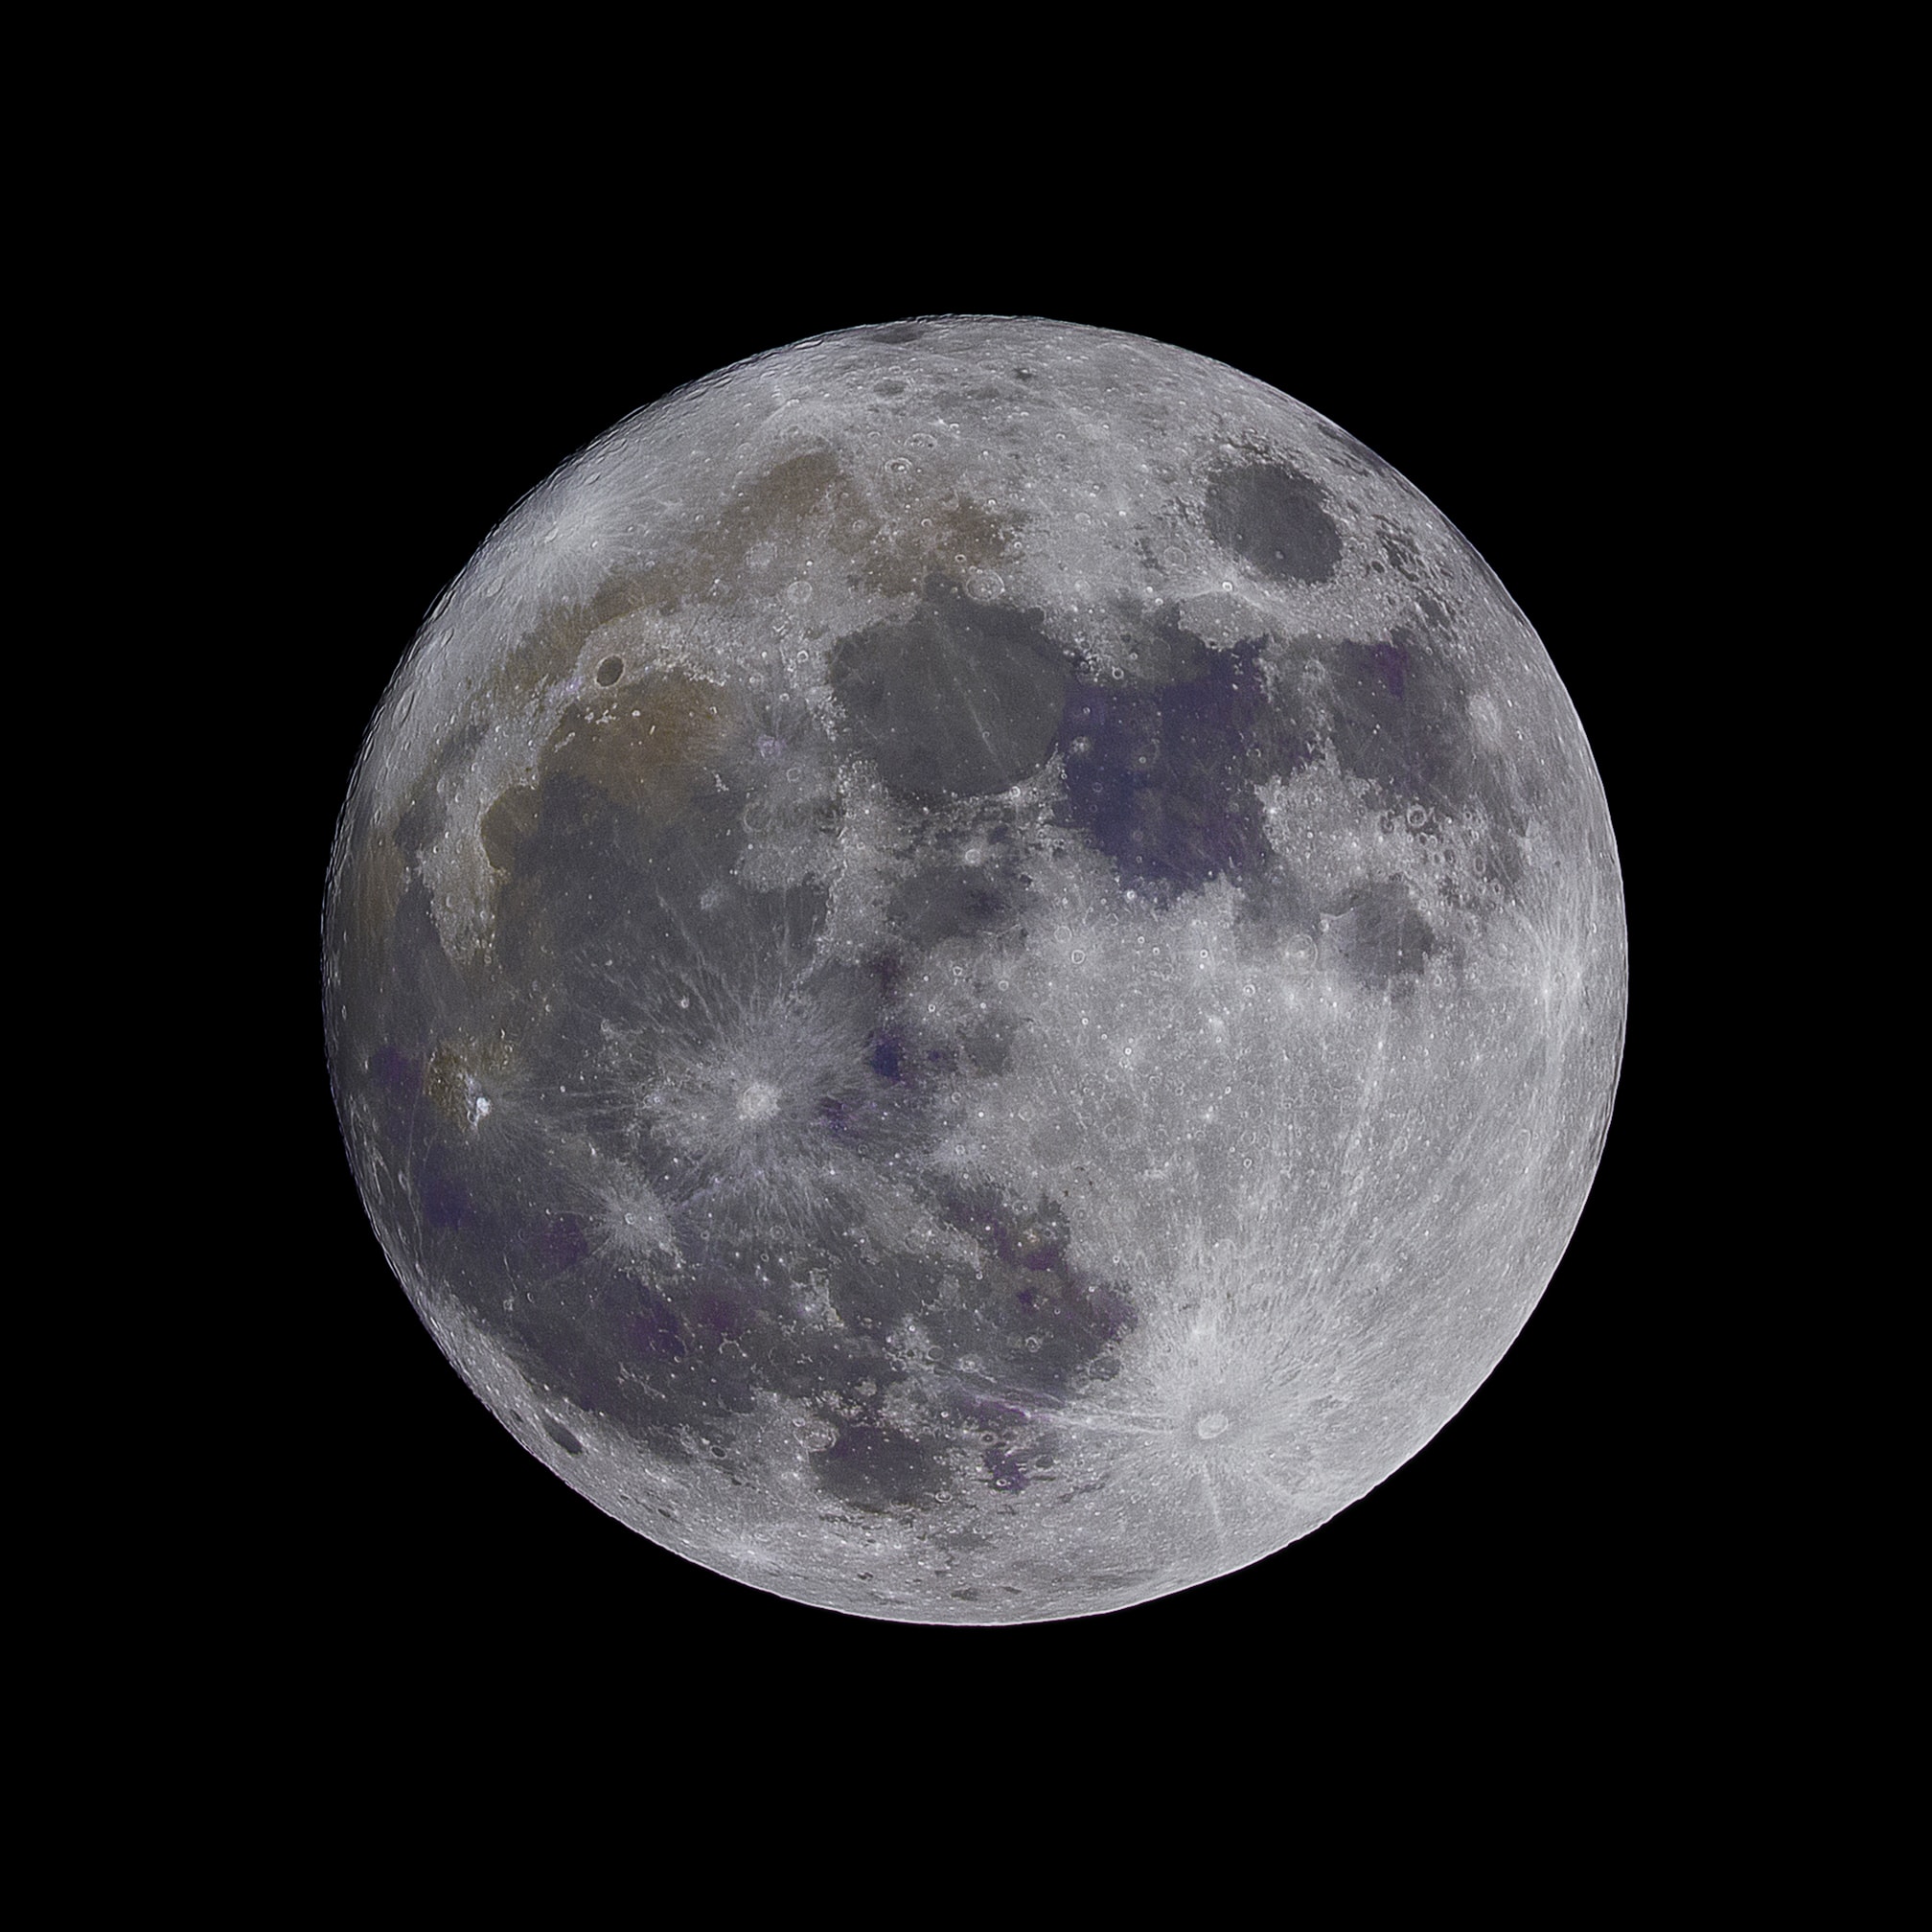
For any budding astro photographers, the moon is a pretty good place to start. Firstly it’s large and secondly it’s bright so even the smallest telescope can reveal lots of interesting detail and that makes for a fun and rewarding introduction.
The moon offers a veritable feast for the eyes so begin your lunar journey by seeing if you can capture an image that shows off the top sightseeing spots on the moon!
5 Things to Spot on the Moon
- Impact craters
- Craters with solar ray systems
- Gigantic peaks
- Ragged mountain ranges
- Lunar “seas”
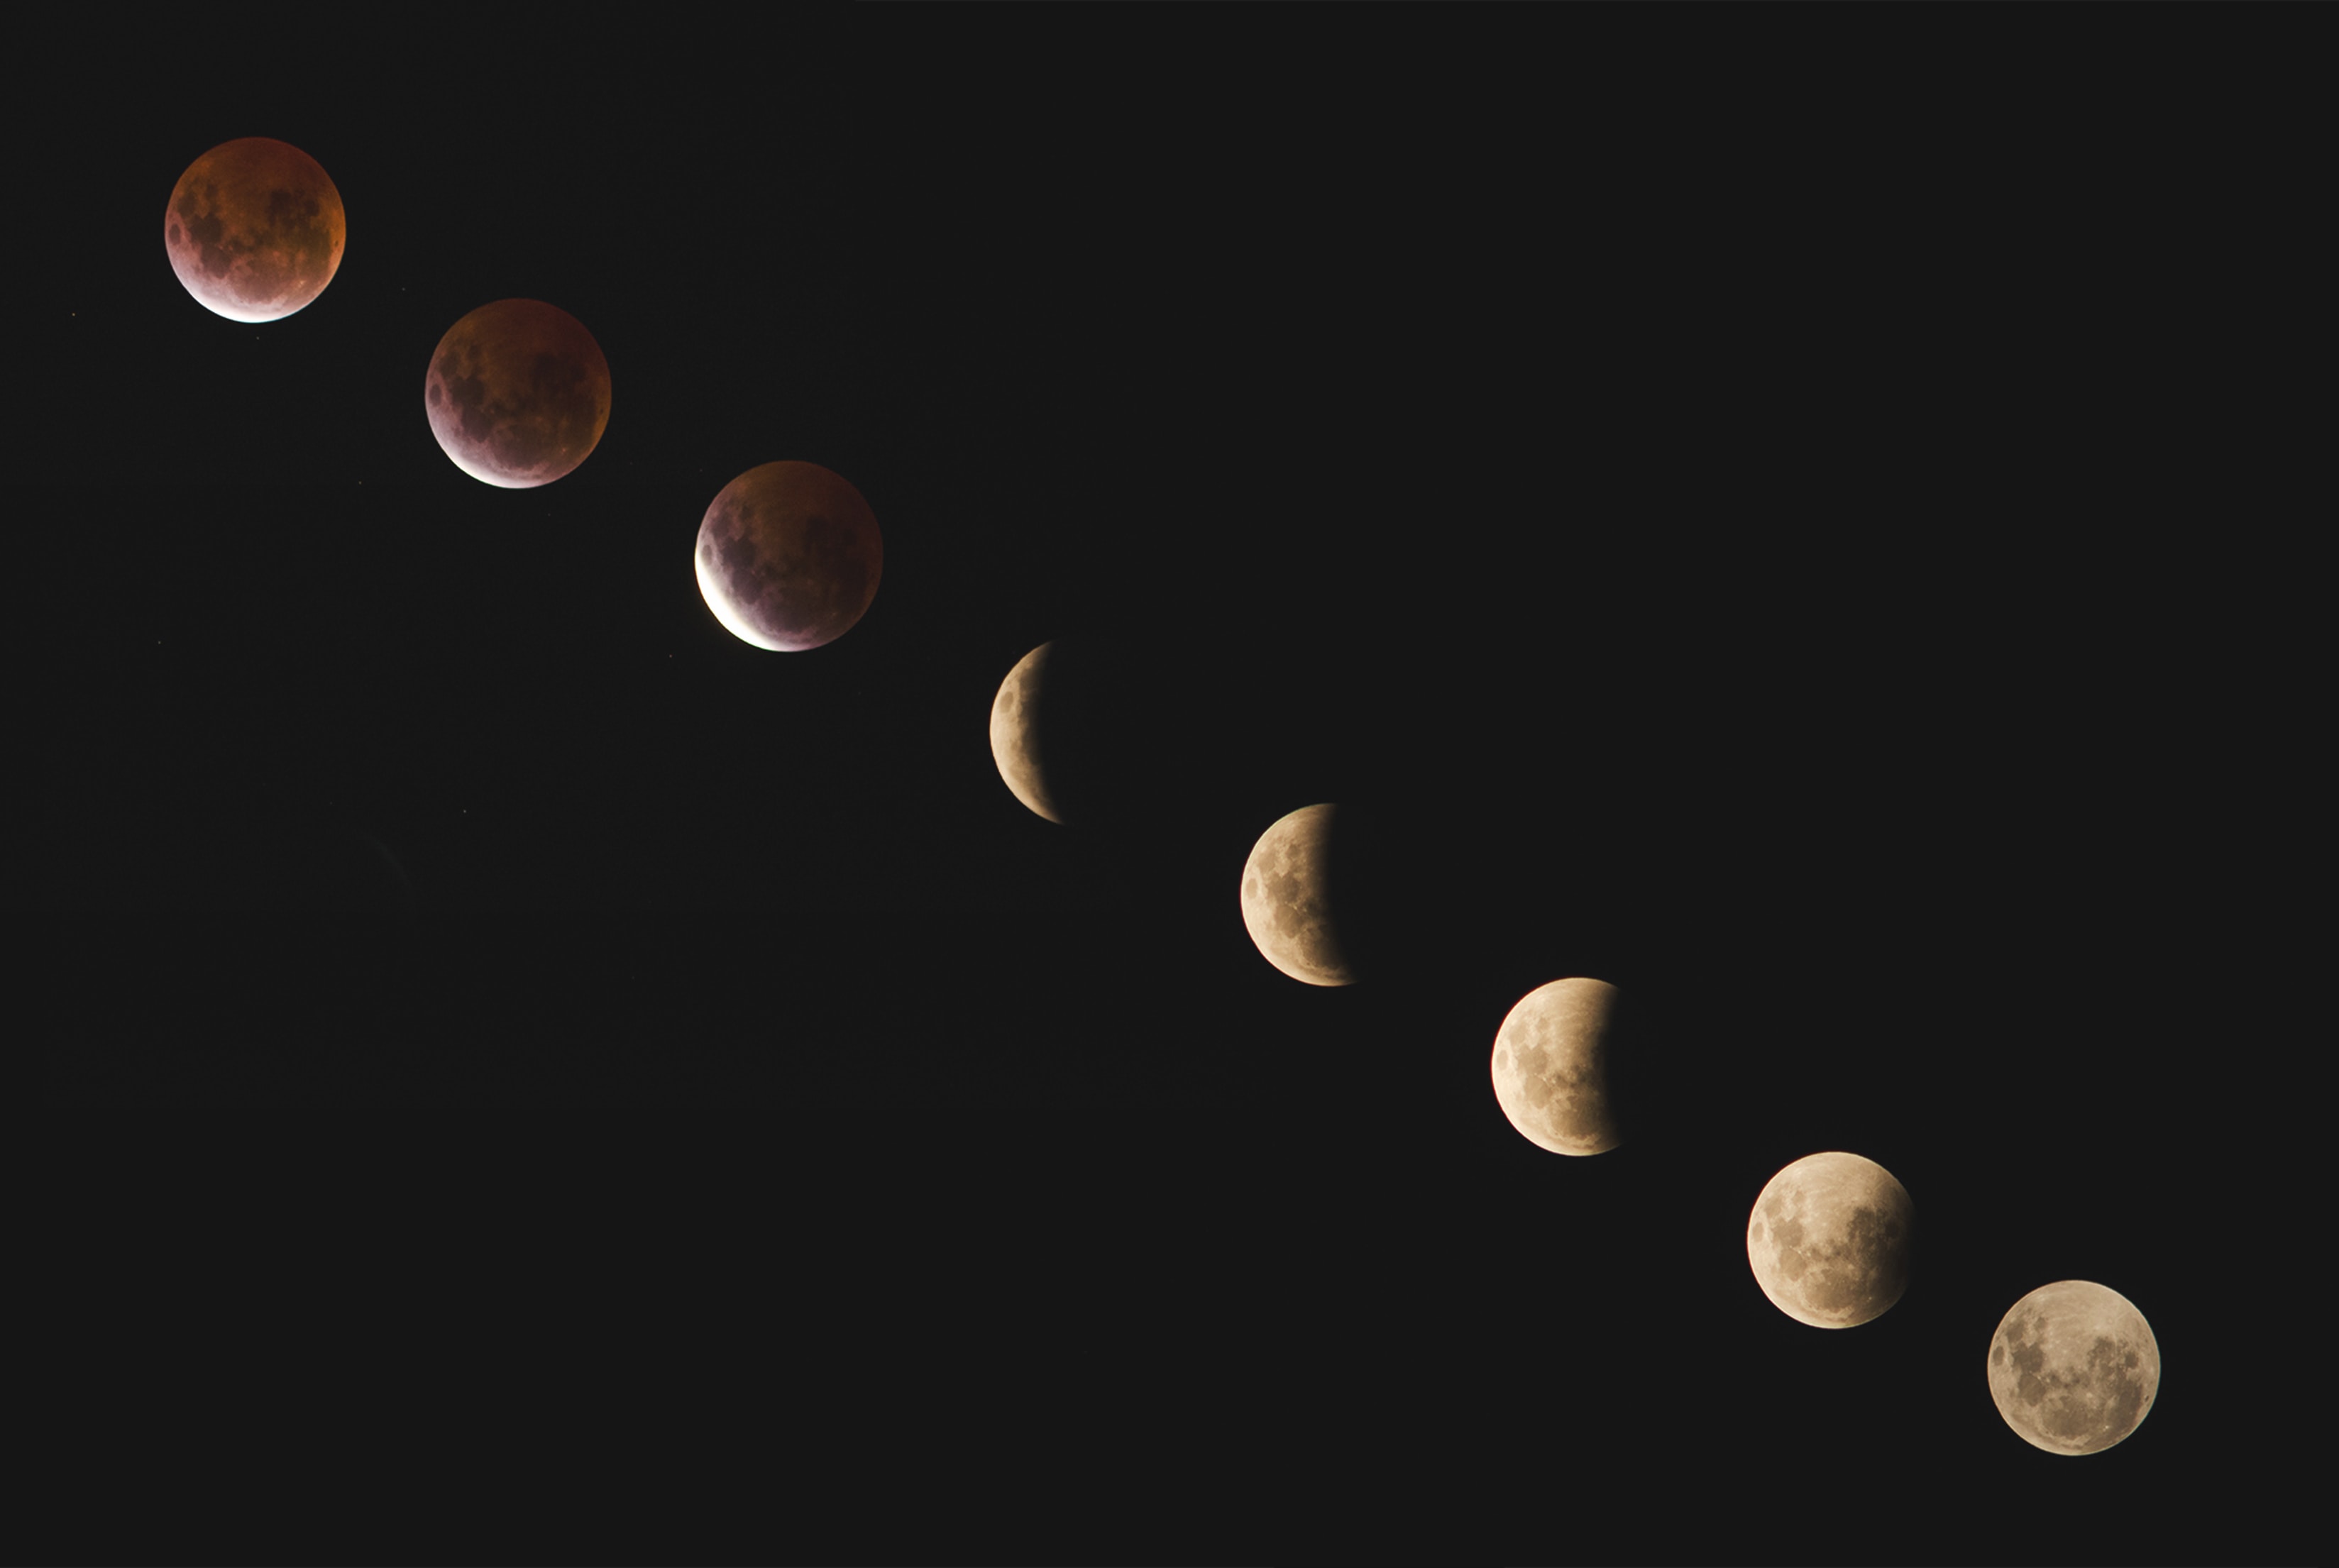
With a bit more time and dedication you can progress to use your telescope and DSLR to record the changing phases of the moon and on those lucky dates of the year the phenomena of the partial or full lunar eclipse. These make for beautiful project pieces.
How to shoot the moon through a telescope
There are 3 methods of photographing the moon through a telescope so see which method suits you best and make a start on planning your night of adventure.
- Prime Focus
- Eyepiece Projection
- Digiscoping
Prime Focus Photography
In this method you attach the camera body directly to your telescope creating a super powerful telephoto lens.
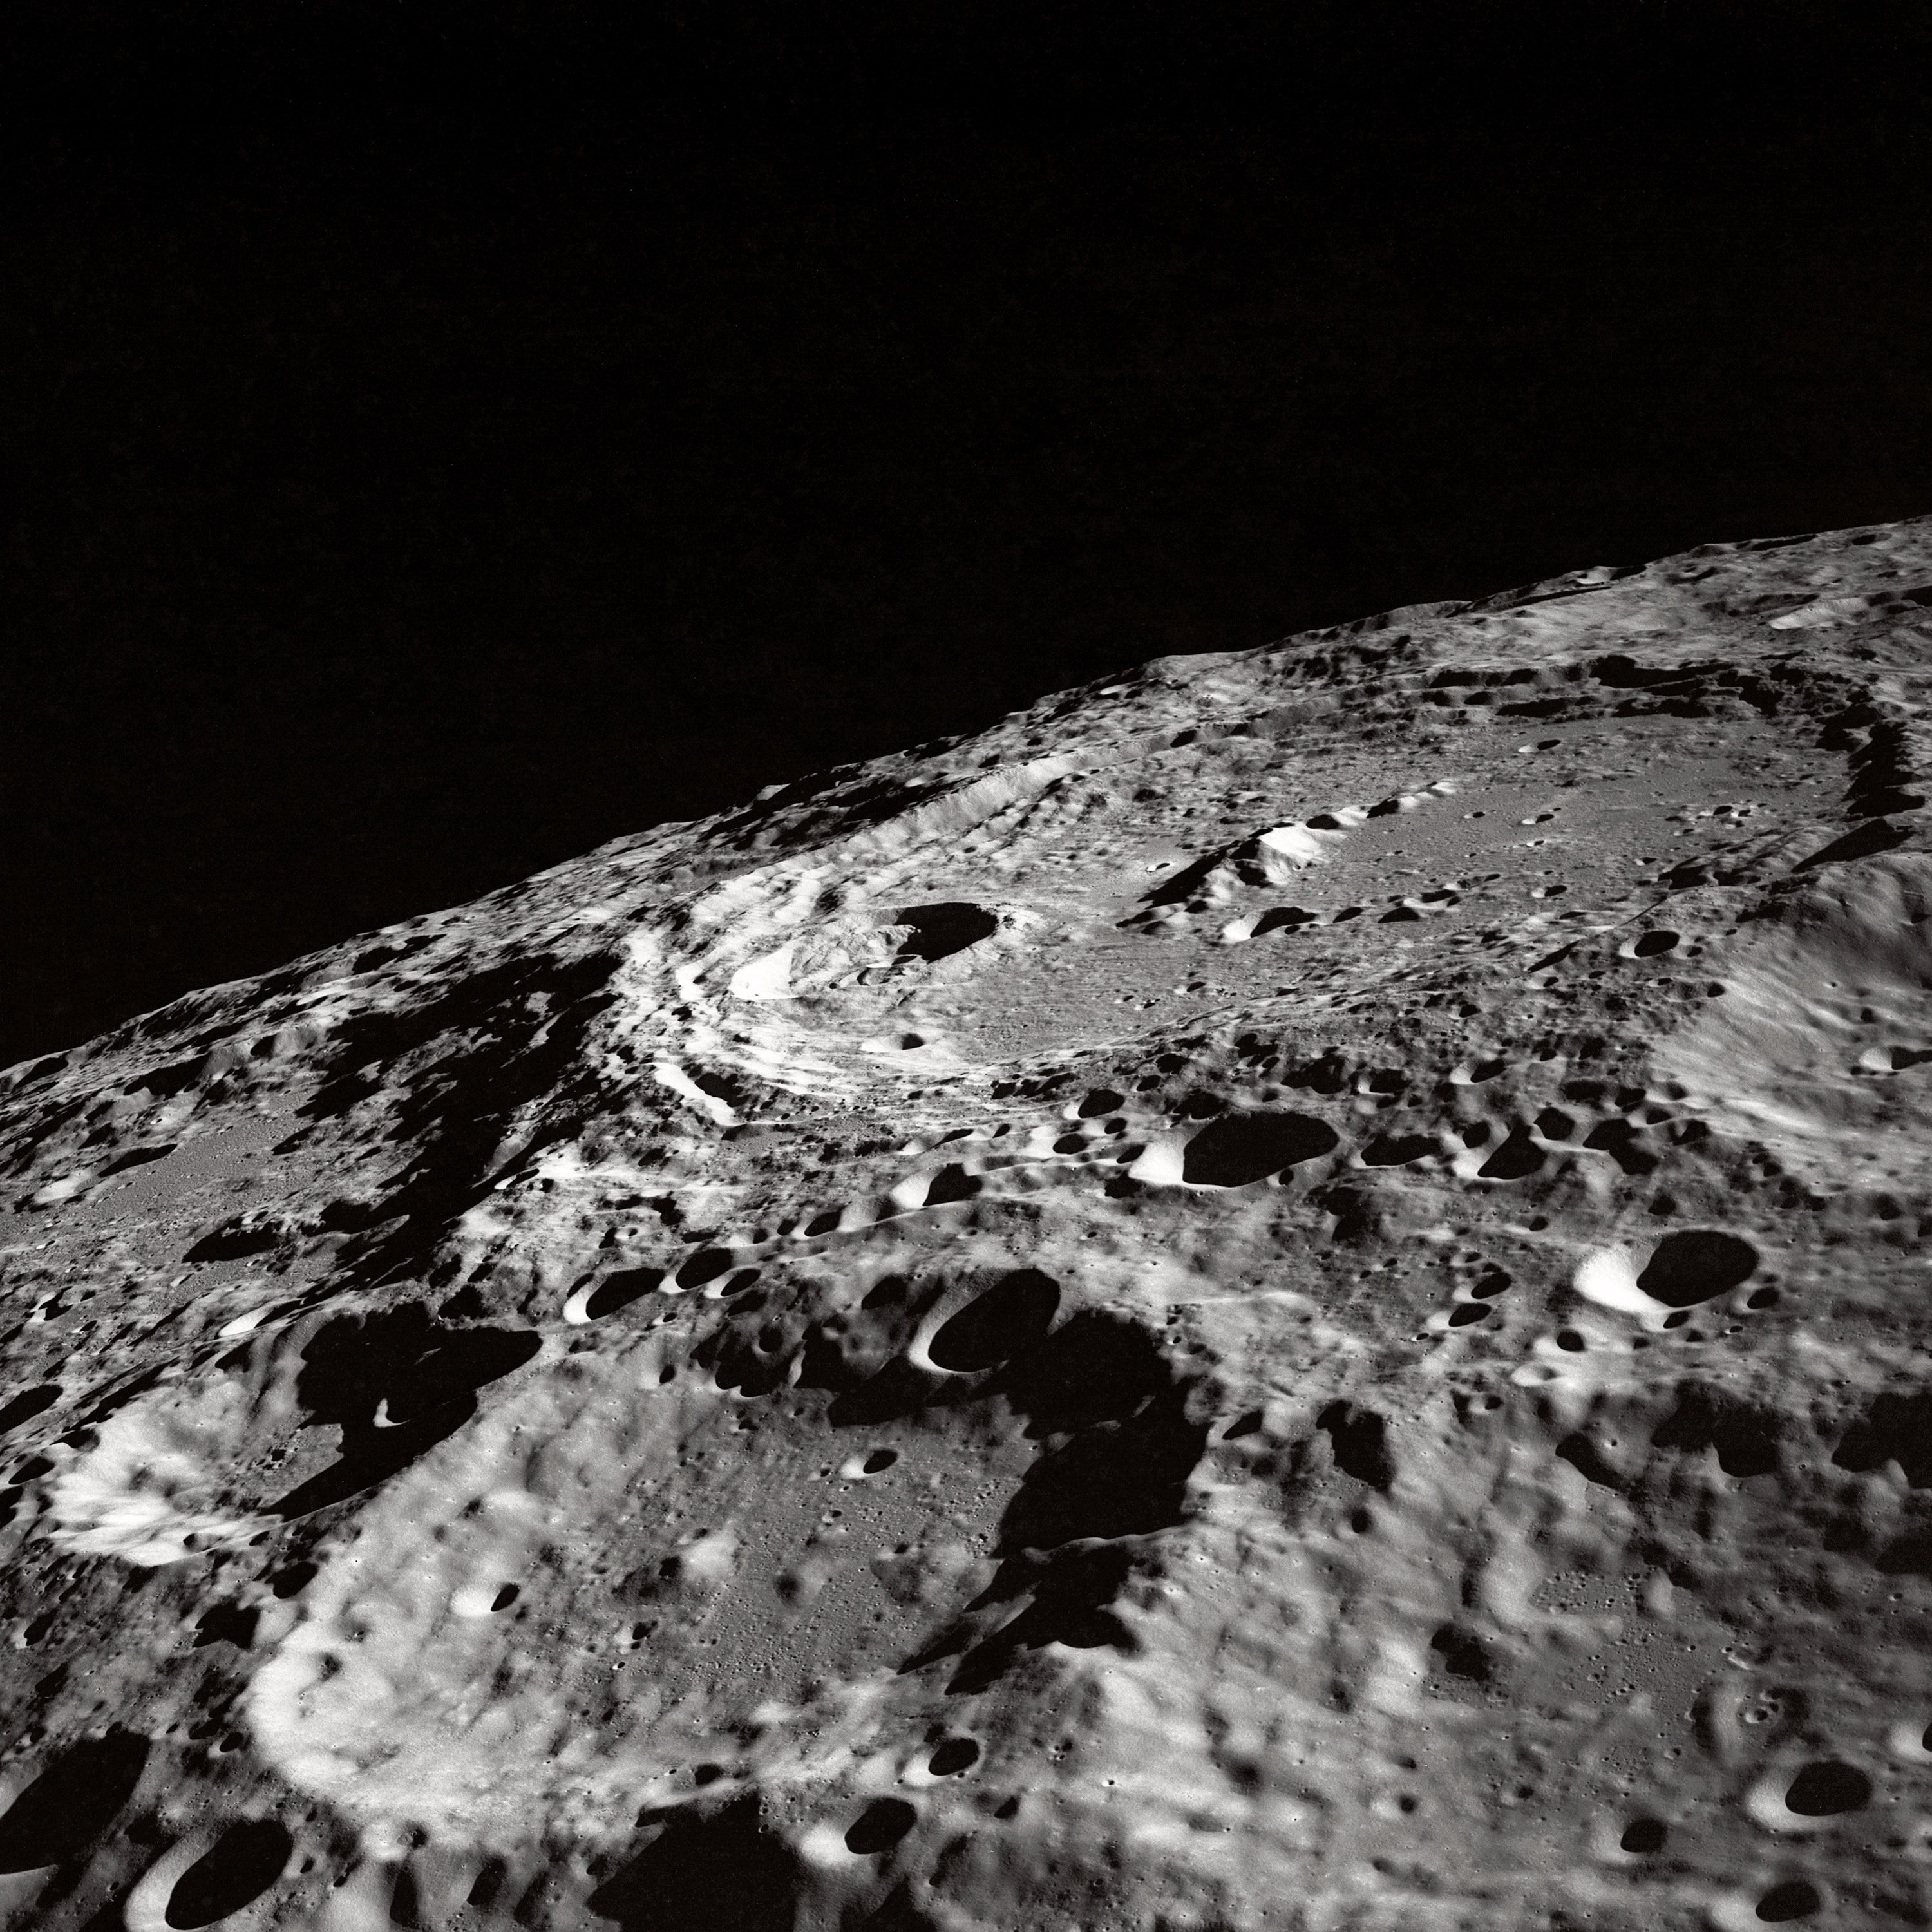
To get dramatic close-ups of the lunar landscape you’ll need a telescope with a focal length of 500mm or more. The greater the focal length the larger the moon will appear in the frame.
If you have a full frame, 35mm format sensor on your camera, with a 500mm telescope you can expect the moon to appear as a 5mm image, a 1,500mm will produce a 14mm image and a 2,000mm telescope will create a 18mm image.
If shooting on a digital camera, you will get instant feedback and can typically preview the image on the LCD screen. You can also take an unlimited number of shots and increase your chances of capturing a great photograph. Shoot as many images as you can, experimenting with various exposures and ISO until you get a setup that works.
What you’ll need
- Mounted Telescope
- DSLR camera body
- T-ring (to fit your cameras' lens mount)
- Prime focus adapter (male T-threads, 1 ¼ inch barrel)
- Electronic cable release or remote trigger (to reduce vibrations)
Eyepiece Projection Photography
This configuration will enable you to double or even triple the image scale but it will come at a cost. The image will be harder to focus and appear dimmer. Extend the exposure time or increase the ISO.
Start by inserting and locking (ensure this is secure!) the eyepiece inside the tube and attach the adapter to the appropriate T-ring. Then, mount the T-ring onto the DSLR body and attach the whole assembly to the telescope's focuser. Using the focuser, bring the camera into focus by looking through the camera's viewfinder or LCD screen. To help you focus, aim the telescope on the moon's bright edge.
When you are working with very high magnifications, any vibrations will also be magnified so ensure you have a solid base and sturdy tripod. Even the motion of the moon can cause blur during a long exposure so it is best to use a motorised mount for your telescope setup.
What you’ll need
- Telescope
- Motorised mount (to reduce blur)
- DSLR camera body
- T-ring (to fit your cameras' lens mount)
- Adapter tube (holds the eyepiece in front of the camera)
- Electronic cable release or remote trigger (to reduce vibrations)
Digiscoping or Afocal Photography
This is the most accessible and cheapest setup. If your camera doesn’t have a removable lens then this is the method you’ll need.
Firstly, aim your telescope at the moon and then adjust until you are happy with the focus. Once you have the telescope setup, simply hold the camera directly up to the eyepiece and use the LCD or viewfinder to compose your shot.
Ensure the camera is as close to the eyepiece as possible to reduce or eliminate vignetting (darkening of the edges).
This is possible to do whilst handholding your compact camera or phone but will be made much easier if you source a camera bracket or lens adapter to hold the camera to the eyepiece.
What you’ll need
- Mounted Telescope
- Fix lens camera
- Camera bracket or lens adapter
Turbulence.
Yes, turbulence will affect your lunar photography! It is the upper atmospheric turbulence that makes the stars twinkle and as romantic as that is it can play havoc with your lunar and planetary photographs. Bad conditions can cause distortion or part of your image to look fuzzy. It is invisible to the naked eye but your photograph will pick it up. If you are happy that your optics are set up for sharp lunar images the secret is to keep shooting and hope for a moment of clarity!
If you would like to share your results with us we’d love to see them and we may share your work on our social platforms with photo credit.
Send your photos to [email protected]
1 Comment