


Photo Editing: Are These 12 Rookie Errors Holding You Back?
This entry was posted on April 23, 2021.
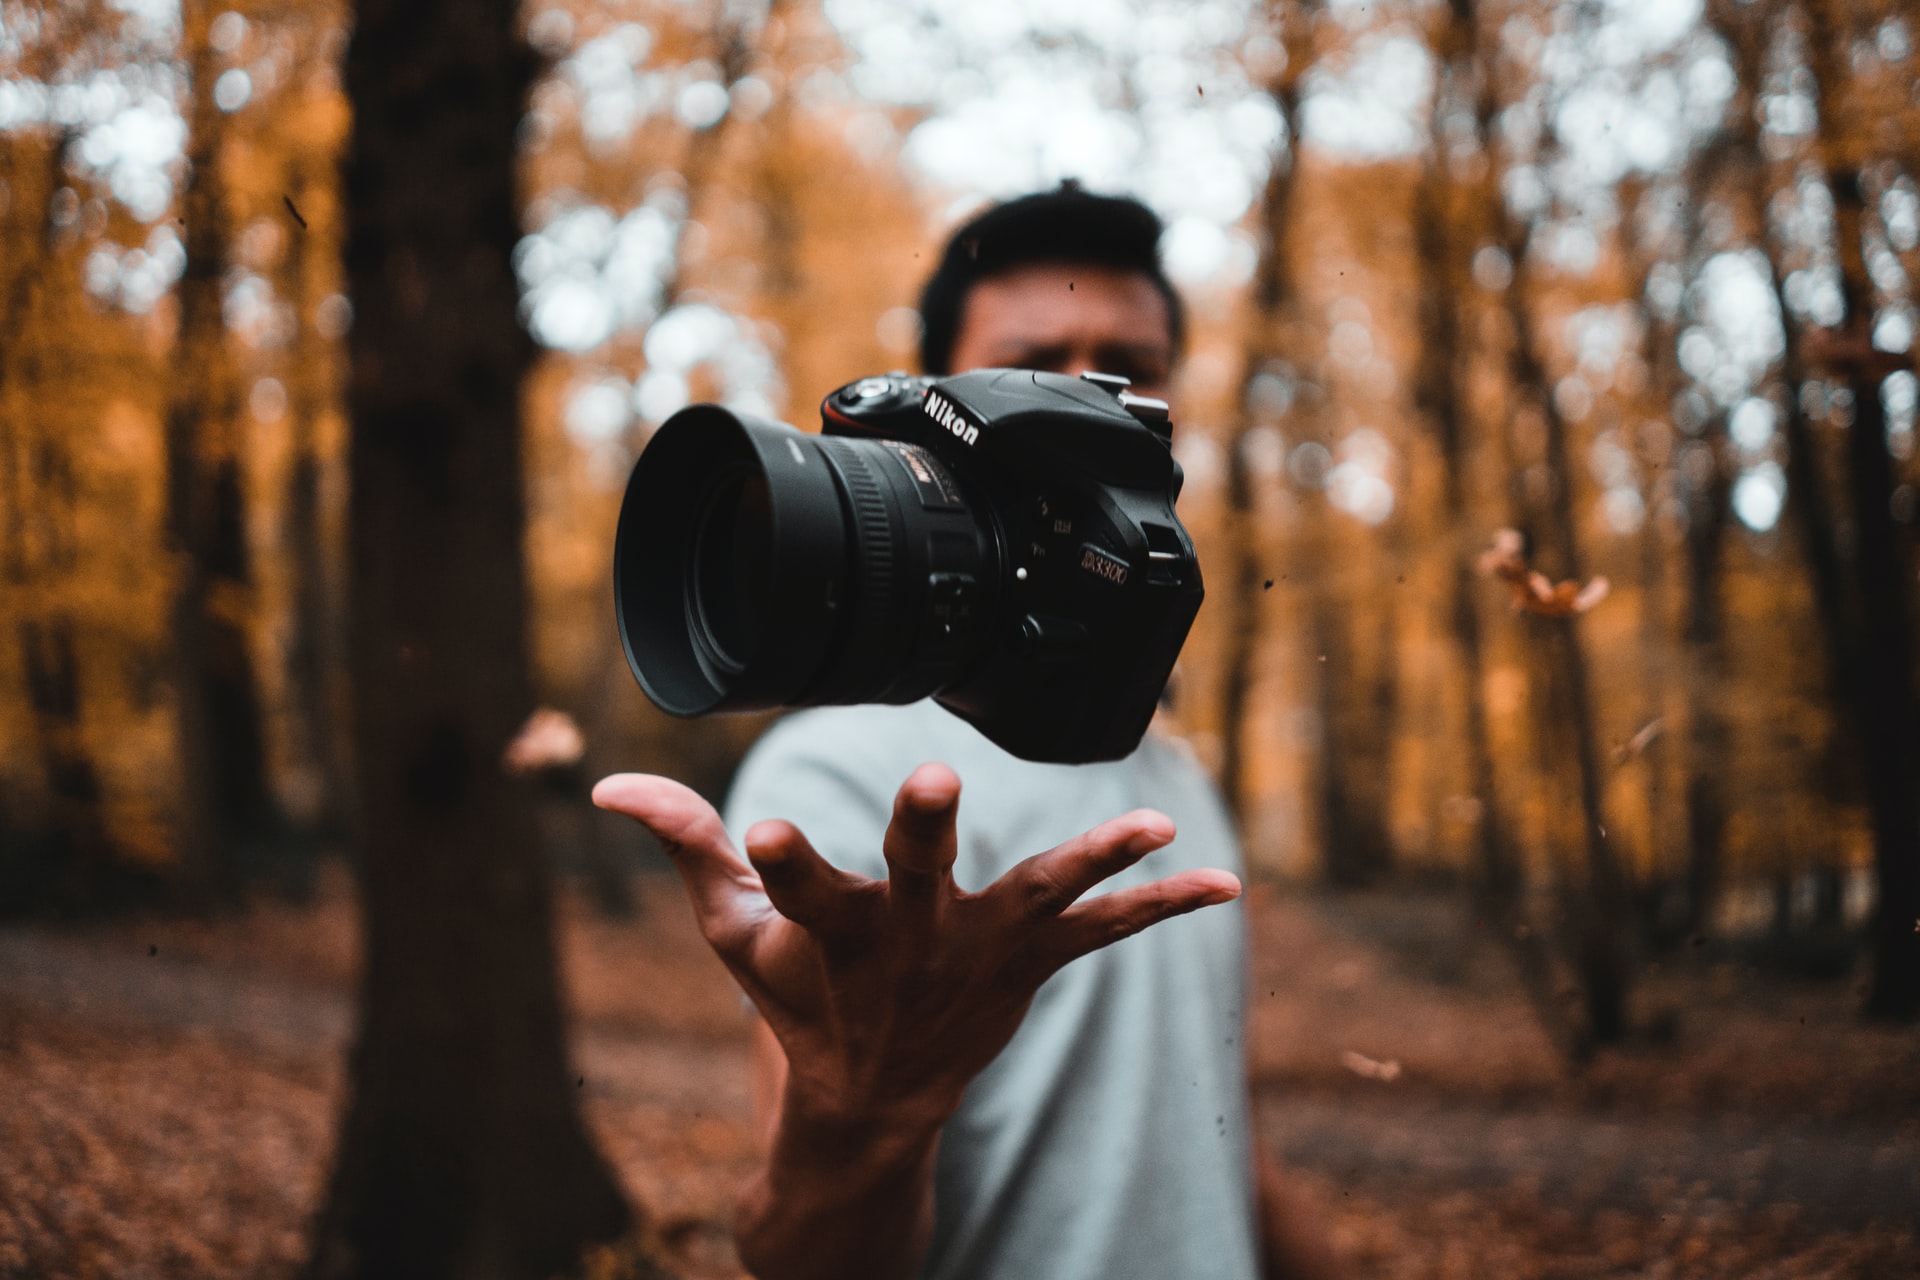
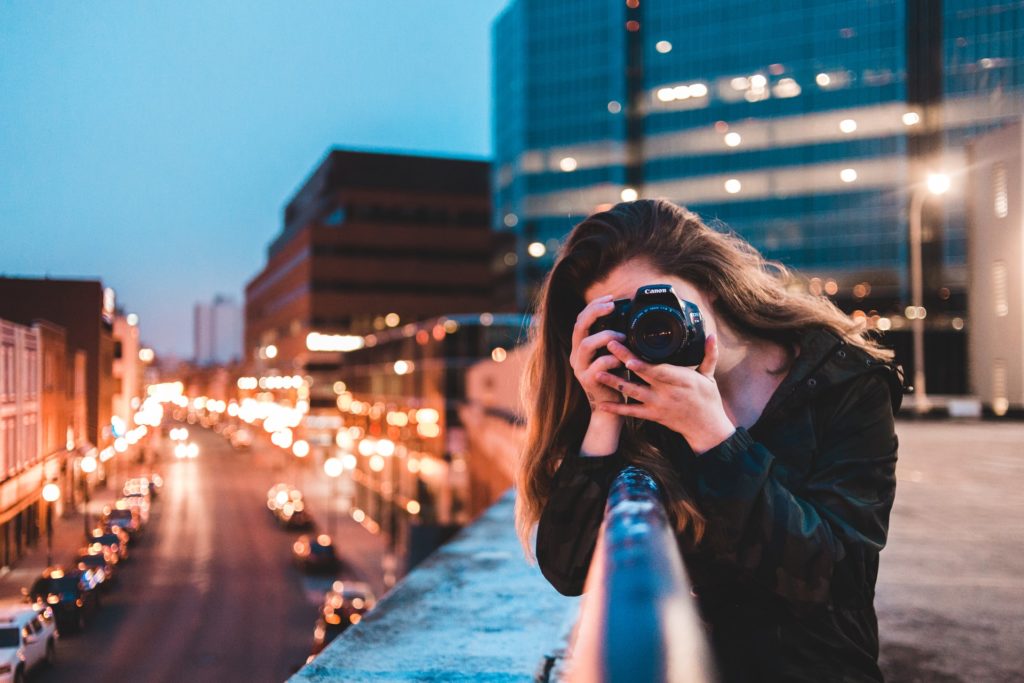
DIY photo editing has stepped out of niche territory to become something we all do. We take pictures of ourselves, our friends, the places we go and the food we eat… and then we edit them to kingdom come.
Or at least, that’s the tendency with many hobbyists and photography newcomers. Even if the intention is only to brag online about what we’ve been up to, many budding photographers rarely let an image go live without enhancing it one way or another.
But at what point does ‘improving’ a digital image cross the line? More specifically, what are the most common editing (and over-editing) errors that could be holding your photography back?
A Case of Common-Sense Moderation
With just a handful of exceptions, less is more when it comes to photo editing. We’ve long-since entered an era where people prefer to see natural and unadulterated shots over those that have been put through the proverbial grinder.
In any case, your goal as a photographer (amateur or otherwise) is to capture shots that need as little editing as possible.
If you find yourself radically transforming your shots on a routine basis just to make them share-worthy, you may need to revisit your photography style.
Other than this, there are several base-level photo editing errors that crop up more than others. Each of the following could therefore be holding you back, but is also an easy issue to correct and steer your shots in a better direction:
1. Improper Cropping
Right off the bat, cropping randomly is by far the most common entry-level photo editing error. Cropping can be a fantastic tool for emphasising the subject of the image and directing focus on what matters. By contrast, ineffective cropping can completely distort the way the subject in the photograph is perceived.
Whereas overcropping a picture can make the dimensions of the subject appear unattractive, failing to crop can distract the viewer from the main focus point of the image.
There are various basic composition techniques that simplify the process of cropping pictures the right way; these include the rule of thirds, symmetry, golden ratio and leading lines.
2. Unrealistic Colour Enhancement
Unless it happens to be the effect you’re going for, you should avoid any enhancements that lead to wildly unrealistic colours in your photographs. The classic example is skin that verges on orange, after being adjusted a touch too far.
Taking full control of white balance, contrast and saturation provides the opportunity to enhance images for an attractive and eye-catching effect. But it should never be taken to such a point where things begin to look synthetic and unrealistic.
(Again, unless that’s genuinely the effect you’re going for - we’re not here to crush your creativity!).
3. Over Sharpening
This is one of the easiest and most enjoyable tools to play around with as a newcomer to photo editing. Sharpening can be a great way of making almost any subject ‘pop’ and bring an image to life, for an attention-grabbing effect.
That is, as long as you don’t take it too far.
Over sharpening always compromises the attractiveness and appeal of the entire image. This is a prime example of an aspect of photo editing where less is more. There’s a very fine line between a beautifully sharp image and one that looks almost alien… and not in a good way.
5. Too Much Airbrushing
All the tools anyone needs to make their skin look as smooth and flawless as a plastic doll are now right there on the average smartphone. But these are not the images people want to see these days, or respond to any positive way.
Airbrushing that results in a ‘too good to be true’ effect simply smacks of a photographer and/or a subject out of touch with reality. Of course, trends change, but in 2021, people respect the authentic.
Of course, tidying up a few imperfections and evening out skin tone here and there is fine. But unless you are taking high-fashion shots for Vogue (and even then it’s not always the right way to go), airbrushing quickly becomes counterproductive.
6. Insufficient Focus on Contrast
When we increase contrast levels, pictures get darker. This results in the gradual disappearance of certain features, accents and highlights within the image. Now, depending on what you’re shooting, this can be a good thing.
Shift the slider in the opposite direction and the image becomes brighter, making these smaller details more prominent.
Getting it right with contrast means taking the time to carefully inspect every last inch of your images after each minor adjustment. It also means having at least some kind of goal in mind in the first place, rather than just playing with the contrast slider and seeing what happens.
7. Getting Carried Away with HDR
Another definite entry to the ‘less is more’ list, HDR is a useful tool for bringing more dynamic shadows and highlights to your images. Shadows are darkened and prominent colours are brought to the forefront, emphasising the more intricate and captivating elements of the shot.
Though with HDR, it’s a very similar story to contrast. If you take HDR too far, shadows become black and completely lose their definition, while the highlighted elements of the image start turning bright white.
HDR is a tool best used in moderation and taken down a notch from what you probably think is an ideal level of enhancement.
8. Removing Too Much Negative Space
It takes time to master the art of using a negative space to your advantage. Negative space refers to the space around the main subject of an image, which is either completely empty or at least devoid of distractions.
Of course, you cannot easily create negative space after taking your shots; make sure its present in your raw images.
Leaving plenty of negative space around the subject of an image is essential in;
- Fashion photography
- Product packshots
- Most examples of sports photography
As a very simple illustration of the use of a negative space, consider a shot of a moving subject. By leaving sufficient negative space in the direction they’re approaching, you can emphasise the sense of movement.
9. Synthetic Vignettes
Technically speaking, all vignettes added to images as part of the editing process are synthetic. Vignettes can look absolutely fantastic, creating an understated yet unmistakable frame around the subject of an image.
However, this only applies to vignettes that come across as subtle and natural - not those that make it look like you’re shooting a subject down a dark tunnel.
It’s a tricky balancing act to pull off, but vignettes are most effective when you don’t actually notice they’re there. It frames the subject and highlights the focus of the image beautifully; still, it’s not something that directly attracts the eye in its own right.
10. Selective Colouring
At the risk of sparking debate, it’s becoming increasingly difficult to produce top-shelf images that feature selective colouring. Not impossible, but a challenge to pull off.
Selective colouring is the classic trick of shifting an entire image to black and white, with the exception of a selected colour that pops out of the image (most often red).
It’s not that selective colouring cannot look great. The problem is, most images edited this way look like they’ve been made with a basic Smartphone editing app preset. It’s a fun tool to play with, but carries an elevated risk of results that look generic, uninspired and quite cliché. Use wisely.

11. Slanted Horizons
The editing process gives you the perfect opportunity to tidy up things that weren’t perfect about the original shot. One of which can be a slanted horizon, which is one of the most off-putting issues a landscape shot can present. Or for that matter, any shot with a clearly visible horizon in the background.
Thankfully, this is also one of the easiest issues to spot and the quickest to correct. Make sure the horizon is perfectly levelled out, before moving on to anything more complicated.
12. Over-Editing Eyes
Last up, it can be tempting to experiment with all the weird and wonderful features at your disposal to enhance the eyes of your subject.
In sensible moderation, it’s worth doing and can lead to fantastic results. Nevertheless, take things even the slightest step too far and you’ll create an unnatural-looking result that compromises the quality of the entire image.
Never forget that a viewer's eyes are instinctively drawn directly to the eyes of the subject. This split-second glance can make the difference between an image that’s seen as credible or written off as an example of over-edited amateur hour.