


How to Take Photos of The Moon
This entry was posted on October 22, 2021.
The moon has inspired many artists throughout the ages. But it’s one thing to paint it and quite another to get a good photo of it. (Trust someone who has a whole camera roll full of failed attempts.)
To take good photos of the moon, you need to plan your shot very carefully. And you need to set your camera up perfectly.
Keep reading to find out the best times for taking moon photos, and the best settings to use to get that perfect shot. No matter what kind of camera you’re using, we’ve got you covered.
How do you take good pictures of the moon?
Well, this comes down to good planning, pretty much. It doesn’t matter whether you’re using a smartphone or a DSLR camera, you need to plan your shots carefully in order to get a good picture.
So, let’s take a look at all the things you’ll need to consider if you want to do a night-time photoshoot. First up, the planning stage…
Planning your moon photography shoot
1. Look up the moonrise and moonset times
You can easily access this information online. The key is to make sure you specify a date; as you might expect, the time varies from day to day. And don’t go thinking that if you check it one day, it’ll be the same the next.
For example, moonrise today (October 22nd, 2021) is 6:44 pm in London. Tomorrow (October 23rd), it’s not until 7:05 pm.
Moonrise and moonset are ideal times for taking good pictures of the moon. Choose the perfect photographic moment when the moon is close to the horizon or surrounded by the cityscape or countryside and you’ll wind up with pictures that look superbly dramatic and atmospheric.
2. Find the perfect setting
Of course, the ‘perfect setting’ is a subjective matter. That said, a pro tip for you: find a reflective surface to incorporate into your shot.
Many photographers achieve breathtaking moon photos by utilizing a body of water or windowpanes to bring extra depth and wonder to their shots.
3. Study the phases of the moon
Throughout the month, the moon goes through different phases. These change the moon’s shape in the sky, and open up a world of photography opportunities for each phase (mostly).
- New moon. This is the first phase… and one you want to avoid. When the moon is “new”, you cannot see it from Earth, which would make for a very boring picture!
- Waxing crescent. You can see a thin sliver of moon, which gradually gets wider and brighter as this phase progresses.
- First quarter. Actually, you can see a whole half of the moon during this phase, which takes place approximately seven days after the new moon.
- Waxing gibbous. Which is the fancy, Latin way of saying the moon’s got a hump. At this stage of the moon cycle, you can see most of the Earth-facing side of the moon illuminated.
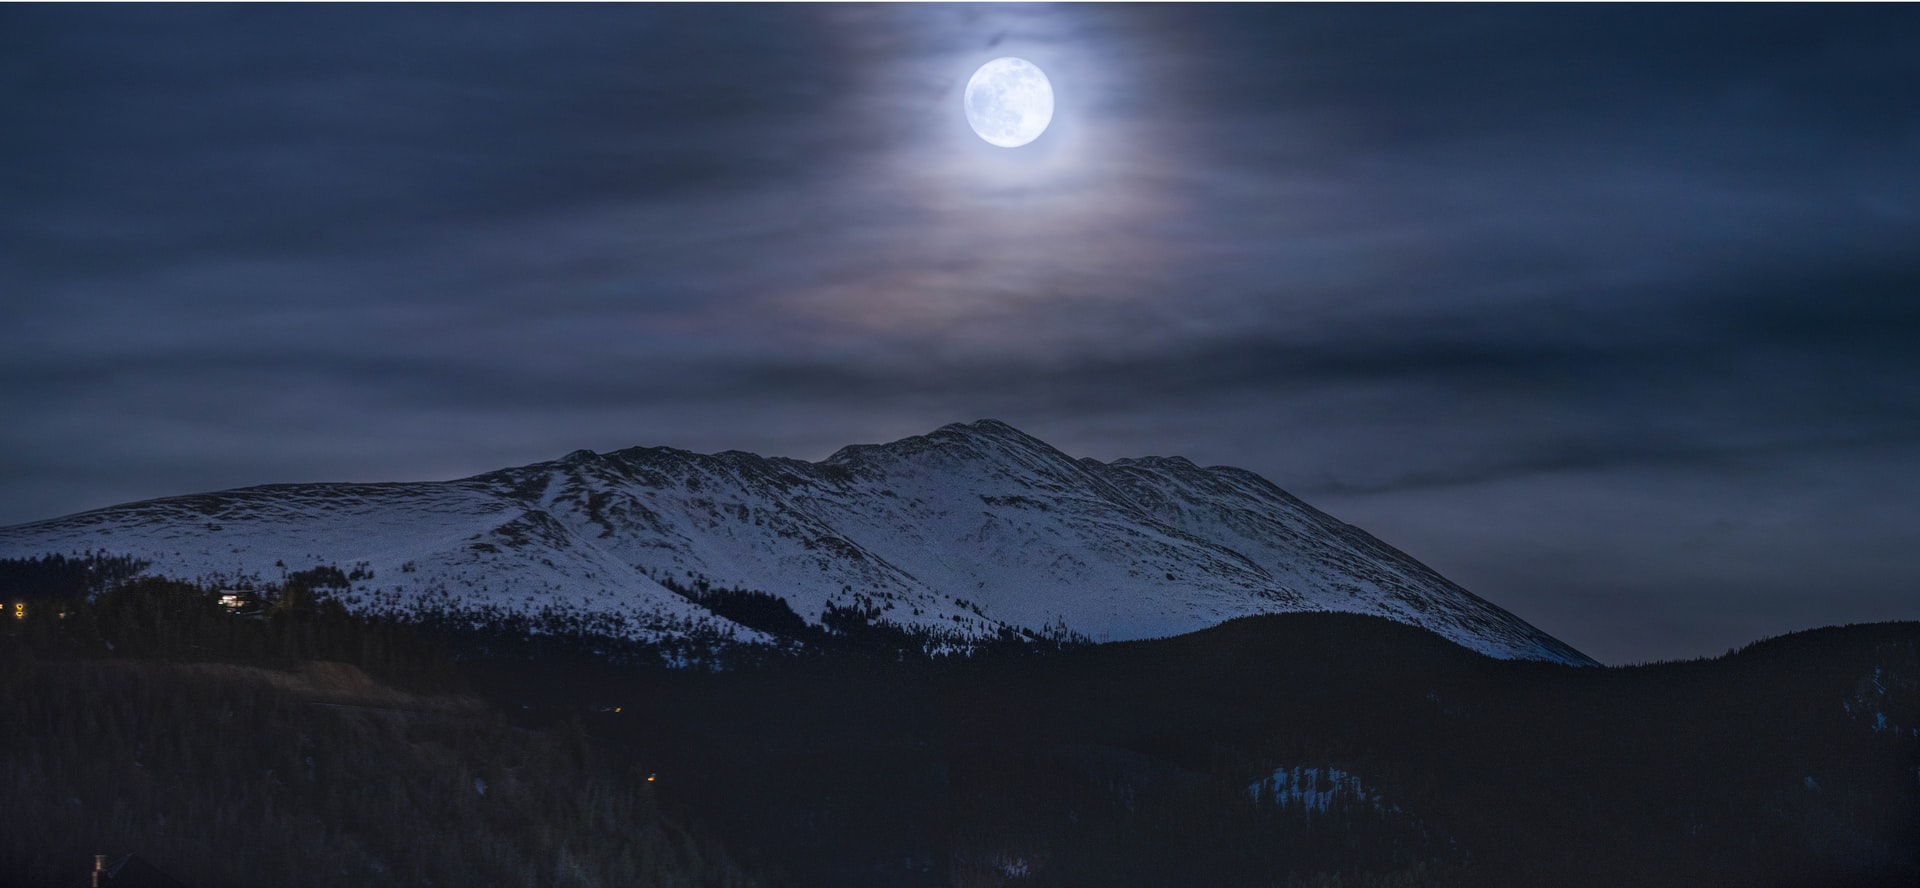
- Full moon. This happens about two weeks after the new moon. In this phase, the moon is full and bright, and it tends to rise and set during the “golden hour”, which will give your pictures a rich, warm tone.
After the full moon, there are three more phases, waning gibbous, last quarter, and waning crescent. We’ve not included them because… well, it’s all of the above, but in reverse. The amount of moon you can see shrinks over the next two weeks, and then the cycle starts again.
If you want to track the changes, why not plan to take a photo of the moon every night for a month, then animate the pictures, to watch the whole cycle on fast forward?
4. Check the weather
A few clouds will add mystery and drama to your shot. But if the night is too cloudy, you may not get a clear picture of the moon. Try to go out on a night when the skies are clear.

How do I set my camera to take a picture of the moon?
To capture a high-def shot of the moon and all the surface details, you will need a DSLR or another camera with a zoom equivalent of at least 200mm.
Then, set up the following:
- Tripod - stabilise your camera using a tripod or other sturdy surface. Additionally, use a timer or remote control to save you moving the camera more than you have to.
- Shutter speed – around 1/60th to 1/125th should hit the sweet spot.
- ISO - use a low ISO setting (between 100-200), especially when the moon is full and at its brightest.
- Exposure - it’s best to underexpose, rather than overexpose, the moon. Try an aperture of f./5.6-11 for best results.
- High resolution - set your camera to take pictures in the highest resolution format, .jpeg. Or, if you have space for RAW photos, go ahead and treat yourself!
Why is it hard to take a picture of the moon?
The moon is beautiful. Distant and somehow serene, it just begs to be photographed. We’ve all been there – “Doesn’t the sky look beautiful tonight?” – a full moon or a smattering of stars. And yet, when you look at the pictures afterwards… tragedy! Where is the allure that’s captivated hearts for centuries? And why has your camera failed to capture it?
There are two main reasons as to why this is.
1. Distance.
It’s a killer. Unfortunately, as good as they’ve become, smartphone cameras are not powerful enough to capture the moon from so far away. You will get much better results if you use a DSLR camera with a long-zoom lens.
2. Lighting.
The moon might not produce its own light, but it reflects a lot from the sun. It might help to think about the sun as a kind of giant flash in this situation. So, to get a detailed picture of the moon instead of a glowing blob on a black background, you’ll need to play around with the exposure both on your camera and on photo editing software afterwards.
How can I take a picture of the moon with my phone?
Smartphone cameras have wide lenses and small sensors, which can result in blurry photos if your execution isn’t perfect.
The best way to take good pictures of the moon with your smartphone is to hook it up to a powerful telescope. If you don’t have the means to do that, though, there are some other ways you can configure the camera on your smartphone to get a better image.
- Compose your image - pick a spot that includes a secondary feature of interest, like trees, buildings, or water.
- Turn off the flash - otherwise, you will not get the full effect of the natural lighting.
- Use ambient light - make use of different light sources, like lights from buildings. Or try capturing the moon in the golden hour for a warmer finish.
Final words
To take a great photo of the moon, you will need to configure your device to the best of its abilities.
We recommend using a DSLR camera for additional flexibility. But if you don’t have one, don’t worry. A picture of the moon won’t cost you the Earth if you purchase one of our preloved cameras to equip yourself.