6 Product Photography Tips and Tricks to Maximise Christmas Sales
This entry was posted on December 3, 2021.

With Black Friday behind us and Christmas quickly approaching, the number of online shoppers is about to explode.
For product photographers, this means only one thing. It's time to make sure that your photos are on point! Whether you’re doing this freelance, on-staff, or you’re an entrepreneur looking to make the most of the seasonal buying spree, this post will help take you from a to £££.
There are many factors that go into taking great product photos. And making sure that you incorporate them in your shoots will make all the difference.
So, in this article, we’ve compiled a list of helpful pointers guaranteed to add some extra allure to your images.
Your clients or company will love how they look, so will customers, and it will show in Christmas sales figures! Consider this our seasonal gift to you. Happy holidays!
Product photography tips and tricks
Great copywriting helps to entice customers, but it’s visuals that seal the deal. After all, we’ve been a visually stimulated species far longer than we’ve been using language.
Whether you’re a pro or aspiring product photographer, or a shop owner dreaming of high sales this Christmas, understanding this fact gives you serious power. The power to influence sales with a simple picture.
Apply the following pointers to your images, and you’re guaranteed to give your product sales their best chance to shoot through the roof.
1. Have the right camera
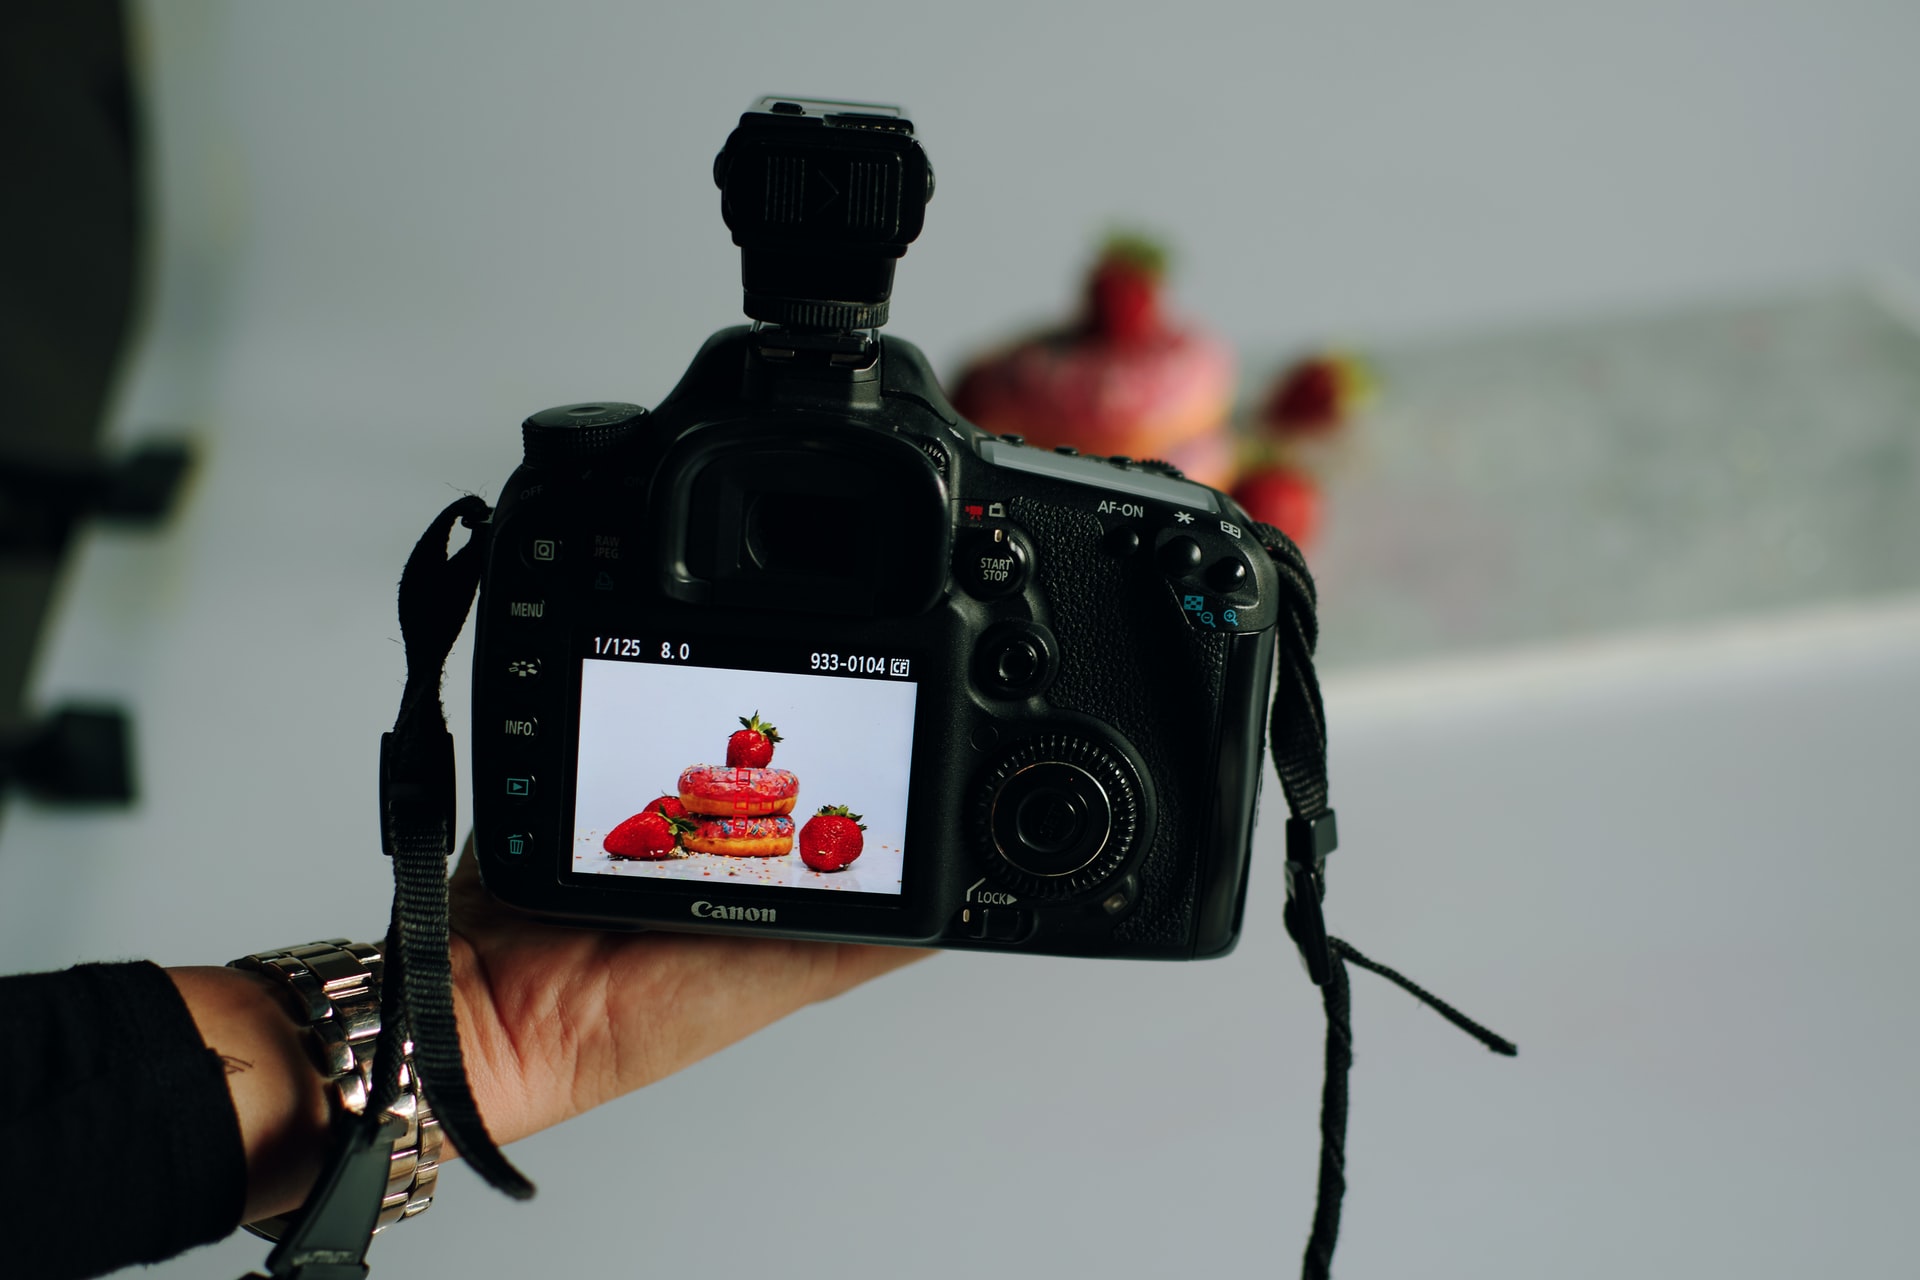
First up is the camera.
Unlike more complex shoots, such as landscape and wildlife photography, selecting the right camera for products is relatively easy.
The most important factor of product photography is that the image quality is of a high resolution.
Now, that doesn't narrow things down as literally dozens of cameras fit this bill. But something which will, is to choose a camera with a full-frame sensor.
Due to their larger surface area, full-frame sensors allow in the most amount of light and detail. Compared to cropped sensors, this means that full-frame cameras capture more sharpness and less noise.
Sony is well known for making cameras with some of the highest image qualities. And it's not only the most expensive ones. Mid-level models like the full-frame A7 III would do the job more than effectively enough.
Although with less detail, you can still take product photos with a cropped sensor camera. The image crop will give the impression of the lens having a greater focal length. And some argue that this creates nicer product photos.
And on a side note, smartphone cameras are also advanced enough now to do the job well. Keep in mind though, you’ll need a higher-end device, one chosen for its spectacular camera features above all else.
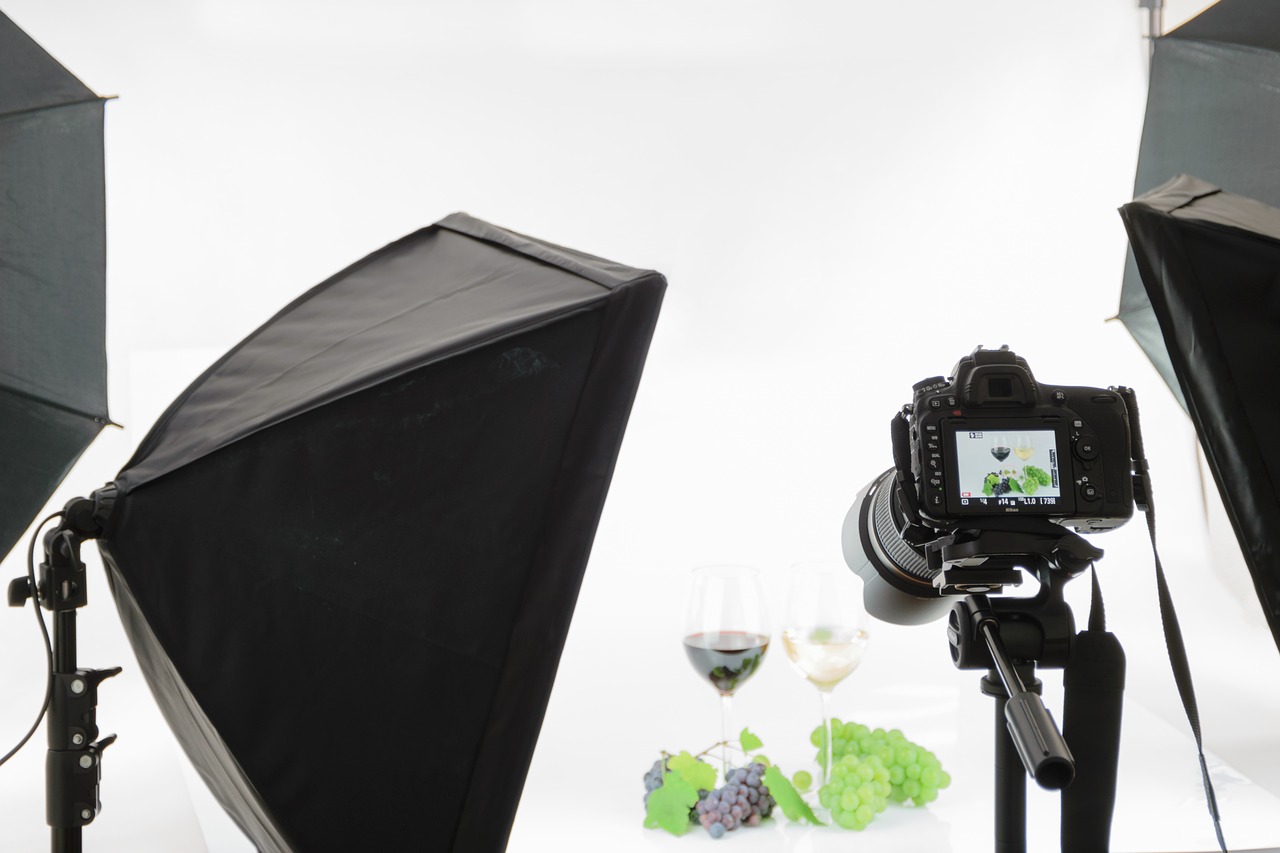
Regardless of your choice of equipment, make sure you also use a stand or tripod of some kind. The last thing you want is to let camera shake ruin an otherwise perfect product shot.
2. Use the right lens
A high-resolution camera sensor can be completely undone by the wrong lens. Which means, it's crucial to choose the right one for the right product.
For smaller products, use a macro lens. It's like taking photos through a magnifying glass, and will bring out the finer details. Products like jewellery, keys, and intricate electronics will look great through a macro lens.
When you're shooting a larger product, and it doesn't need close-ups, then a regular lens could work. This is the case for objects like surfboards, for example. Here, the shape and size of the board are what you need to highlight. But if a larger product also has smaller features that are selling points, then stick with a macro lens.
Finally, a wide-angle lens will come in handy when shooting large objects. You'll capture more field of view without having to move further away from the product.
Wide-angle lenses make shooting products like cars easier. You can get the vehicle, as well as its surroundings in the frame, without having to zoom out.

3. Lighting
This is fundamental to professional-looking product photography. Alongside using the correct lens, this is the most important factor in a product shoot.
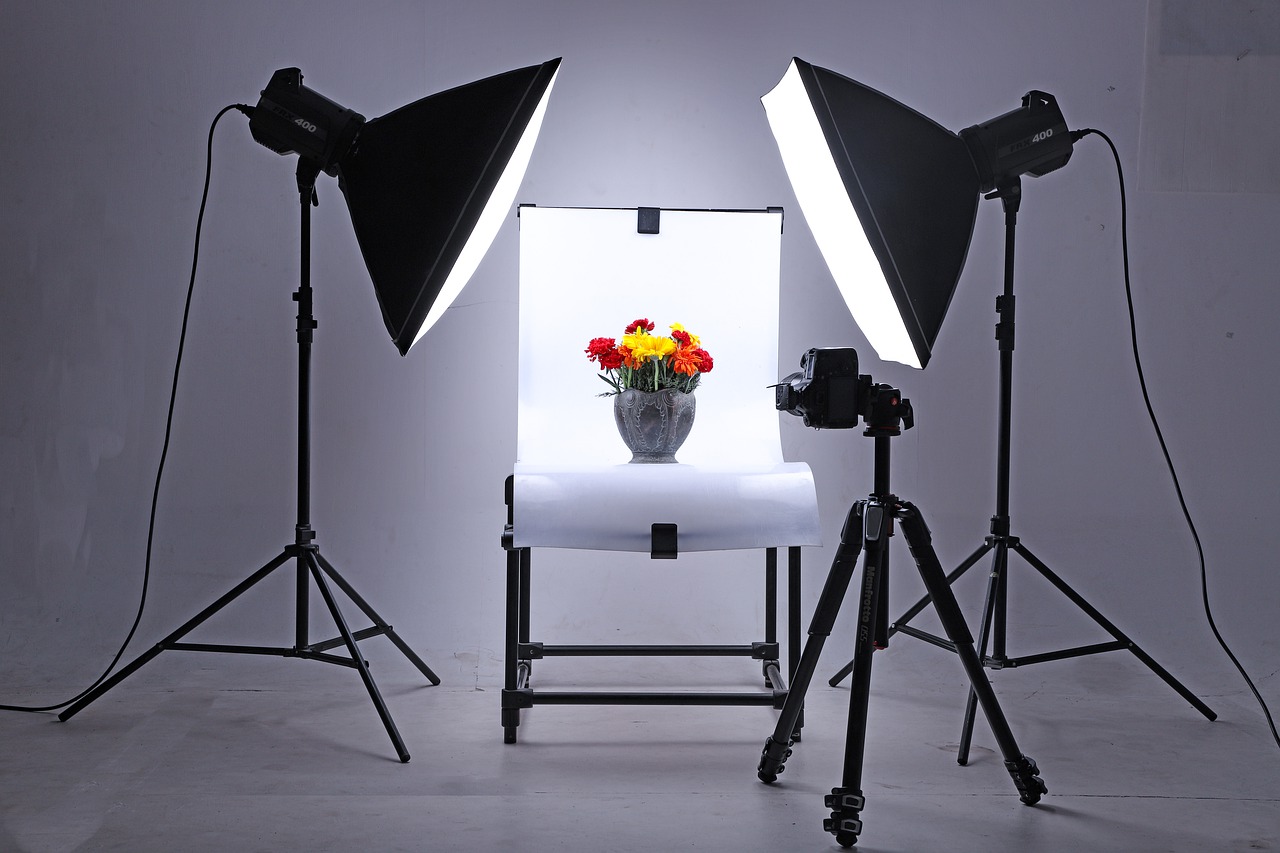
Lighting cannot be compromised, so make sure that you have the correct gear. Investing in a good lighting setup means you don't have to rely on natural light, which is weather dependent.
Natural light can work in your favour, especially when shooting products outdoors. But if your shoots are indoors, then you want full control over conditions. And this only comes through lighting equipment.
4. Take many, many shots
Get creative with your product photography by taking multiple shots in different ways. Explore different angles in different light conditions, and change up your camera settings. Doing so will help differentiate the images you snap, and create a product portfolio.
Some of the settings to experiment with are:
- The white balance. This will affect brightness.
- Colour saturation and exposure. Mixing it up with these two settings will help bring out different features and emotional effects in your product images.
Funnily enough, our blog post on food photography has some interesting concepts which you could apply to your product photos.
But most importantly here, by changing it up with your settings and angles, you tell customers a story. And in this story, the product is the main character.
This will increase the chance of sales.
5. Focus on the product
This is another basic which you need to get right. Although it may be tempting to spruce your product up with an interesting background or other visual feature, don’t. You risk taking focus away from the product.
And this won't be good. The product is the centrepiece of your images, and that's what your high-quality camera needs to show.
So, if you want to set up a visually interesting product shoot, make sure the limelight stays on the product. There’s a reason why so much product photography is done using a lightbox.

6. Tripod for stability
Shooting still product photos without a tripod is a rookie mistake — don't make it...
Despite most cameras now having sophisticated in-body image stabilisation, a tripod will remove any movement whatsoever.
So, make life easy on yourself, and use one for your product photos.
Final thoughts
You'll have noticed from the variety in our suggestions, that creating great product photos combines multiple elements.
Not only do you need the right tech, but you also need to explore lighting and camera settings. This takes time, but with practice and an open mind, you will create some eye-catching product photography.
So, have a play around. Get creative. You’ll soon see the fruits of your labour shining through in your images. And don’t go thinking for a second that these tips will only help you boost your Christmas sales. Master the art of product photography and you’ll be reaping the rewards all year round.


