CameraWorld's Essential Guide for Beginner Photographers: ISO
This entry was posted on June 24, 2022.

The latest article in our guides for beginner photographers looks at ISO. This follows on from our other essential guides, including Aperture and Shutter Speed and explains what ISO is, how it affects your final image and how you can get to grips with using it.
What is ISO?
One of the components of the exposure triangle, in very basic terms, ISO, controls the sensitivity of your camera's sensor to light. ISO is a camera setting that will brighten or darken a photo. As you increase your ISO number, your photos will become progressively brighter, meaning ISO can help you capture images in darker environments or be more flexible about your aperture and shutter speed settings.
Raising your ISO does have consequences, however. An image taken at too high of an ISO can show a lot of grain, also known as noise. Therefore, brightening a photo using ISO is always a trade-off. You should only raise your ISO when you are unable to brighten the photo via shutter speed or aperture instead, for instance, if using a longer shutter speed would cause your subject to be blurry.
Before the invention of digital sensors, ISO was used to describe the sensitivity of camera film to light, the higher the ISO, the more sensitive the film was, and so you were able to take photos in low light conditions at faster shutter speeds or narrower apertures. This was then replicated for digital sensors, but the principle remains the same and ensures similar brightness levels on a digital sensor as you would get on film.
How does ISO work?
Every photographer will have seen ISO numbers on the back of their camera. As a beginner, it’s not unusual to not know what those numbers mean and what happens when you increase them. Simply put, every time you double the ISO, you require half the amount of light to achieve the same exposure level. So, if you raise your ISO from 100 to 200, you’re effectively doubling the brightness of your image.
When is ISO useful?

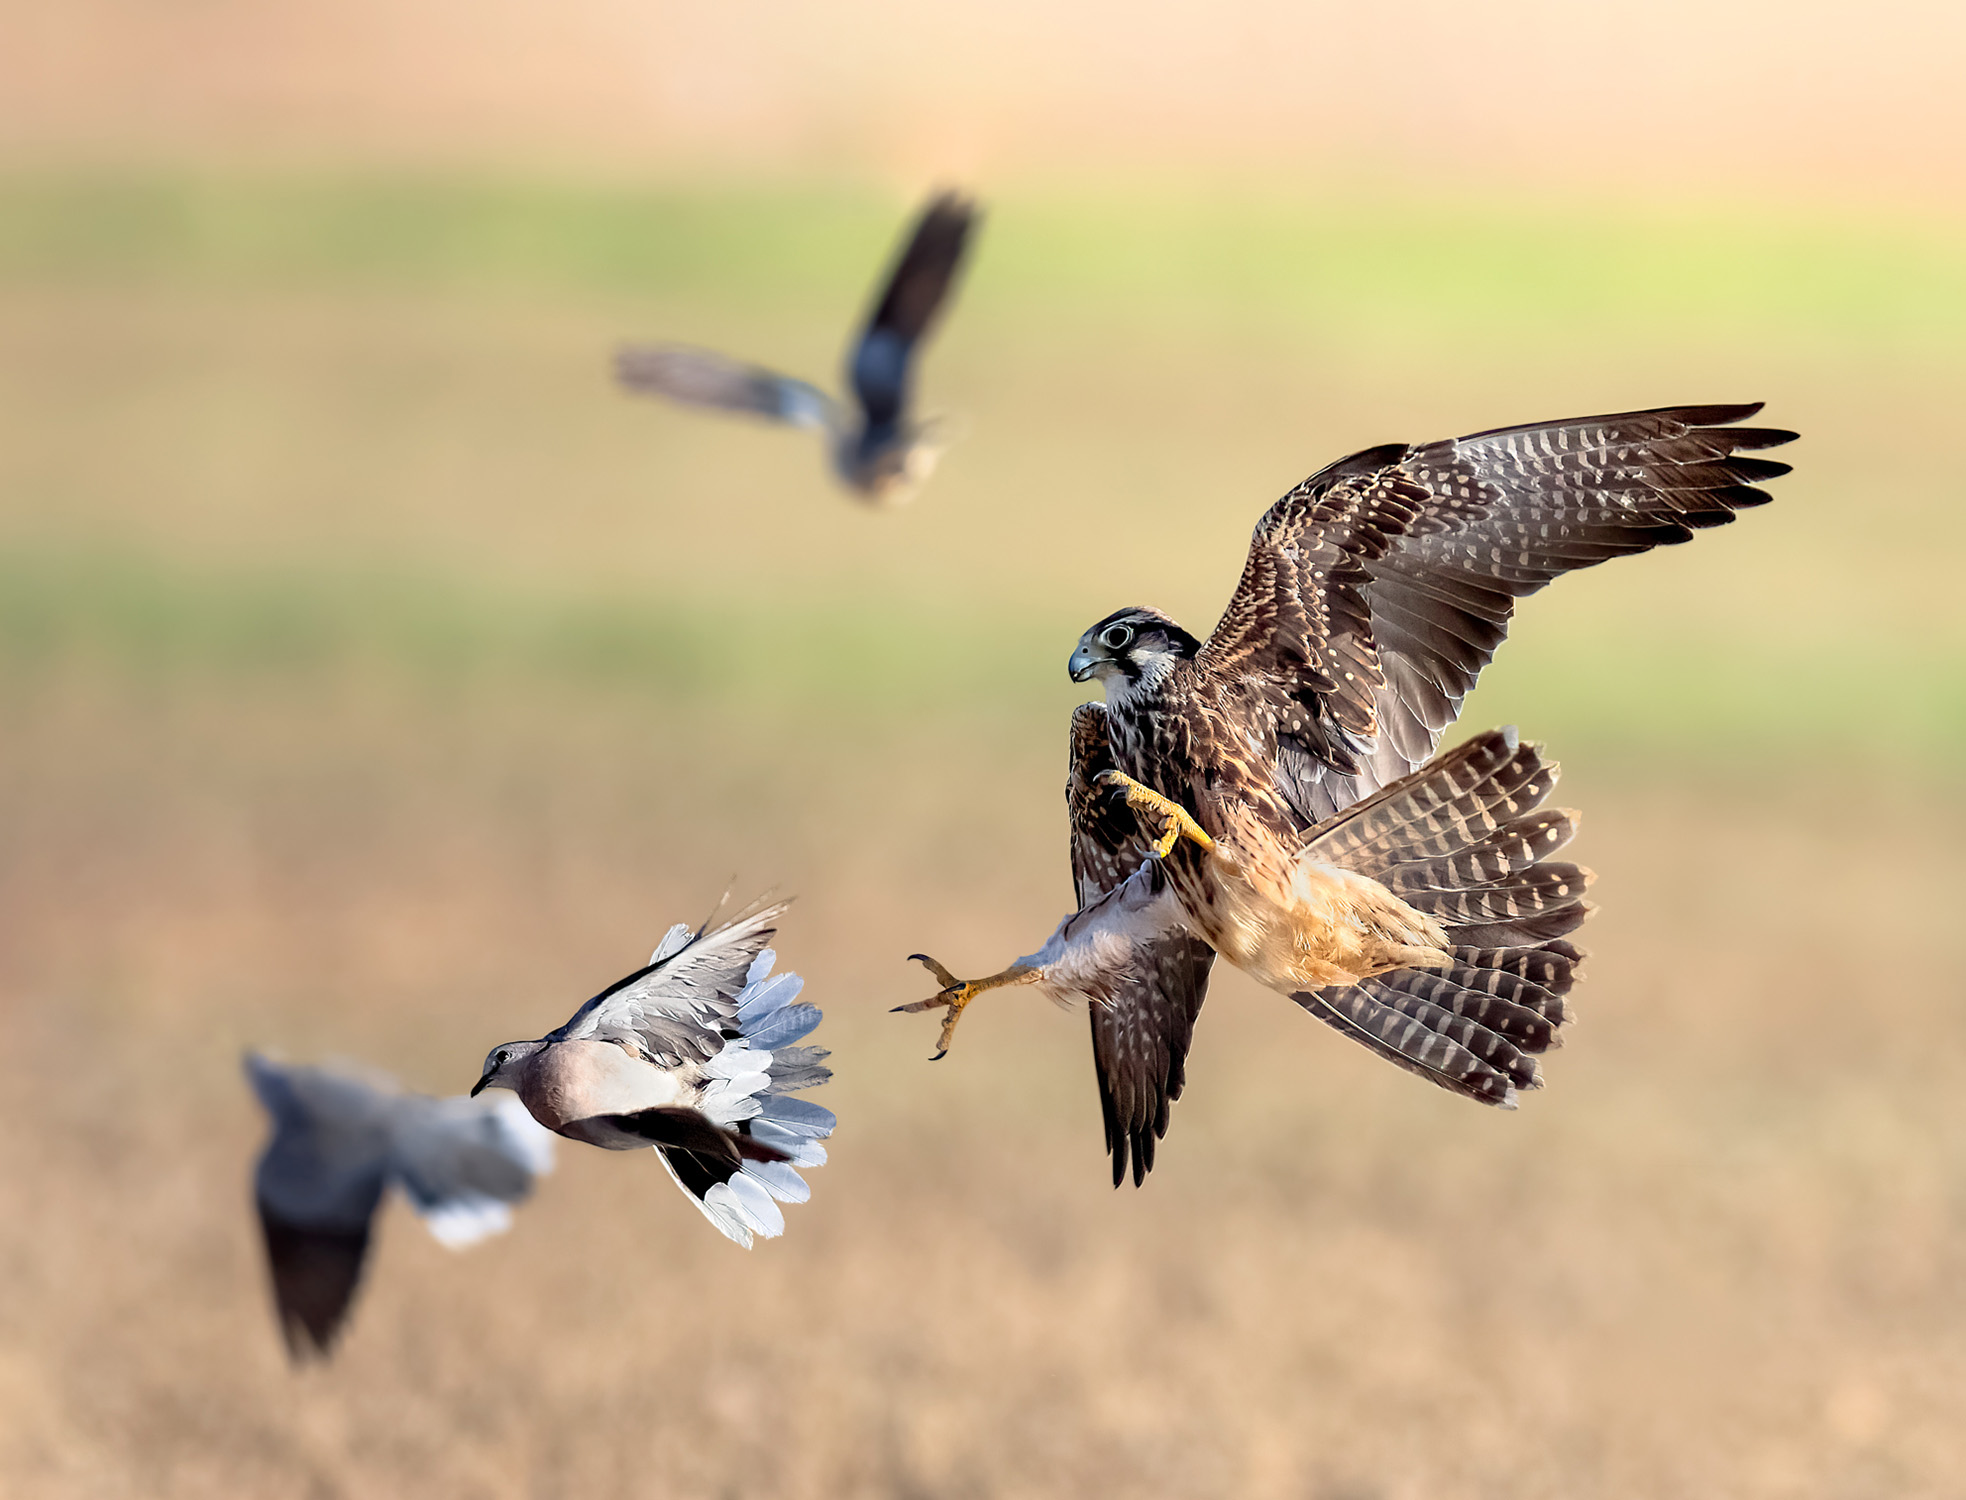
You might be wondering why this is useful in photography? Why would you need to double the level of exposure in your shot, for instance? If you imagine you are taking a photo of a fast-moving subject such as a sporting event. To get a good exposure level, you’d have to set your ISO to 100 with a shutter speed of 1/125 sec. While this gives you good exposure, because of the fast-moving action, your subject will become blurred. The only solution is to increase your shutter speed. Increasing your shutter speed will mean less light entering the camera and so your photo becomes too dark.
This is where you can use your ISO. By doubling your ISO to 200, you can now also double your shutter speed to 1/250 sec and still get the same exposure. If that isn’t fast enough, you can double your ISO again to 400 and increase your shutter speed to 1/500 sec. This ensures that your exposure level remains the same while your shutter is faster. By understanding the basics of ISO, you can use it to capture the shots that you want to achieve. That is why it is so important to understand the whole exposure triangle.
How does ISO affect your photograph?
Even though ISO is so useful for photographers, it is also one of the biggest potential culprits for grainy photos. The higher your ISO setting, the more “noise” you will see in your photo, which can affect the sharpness and clarity of the image. Even with the noise reduction capabilities of modern editing software, it is impossible to retrieve the same quality in a photo taken at a high ISO as you would get with a low ISO.
It’s important to know the type of camera you have and its capabilities (e.g. the sensor size), as this also has an impact on the noise level that high ISOs will produce. The bigger the pixel sizes or sensors, the less visible noise will be at high ISOs than, say, with small compact cameras. Think of the ISO as a balancing act to give you the results you want. As a rule of thumb, always aim to keep it as low as you possibly can to ensure the quality of your photos is not affected.
Digital cameras have come a long way since they were first launched. It wasn’t unusual to see noise in some early digital cameras, even at ISO 800. These days, most high-end cameras can produce good results even at ISO 1600+.
When to decrease ISO
There is a wide range of ISO levels. In some cameras, this can be as low as 50 and as high as hundreds of thousands. So when should low ISO be used? You should use a low ISO where possible. This would include any time you are using a tripod where shutter speed isn’t of any importance. For example, if you are photographing a landscape scene, you can have a slow shutter speed. Or, if you are shooting outdoors on a sunny day, then you shouldn't need to raise your ISO very much. Bear in mind that raising your ISO a little isn't going to show any noise.
When to increase ISO
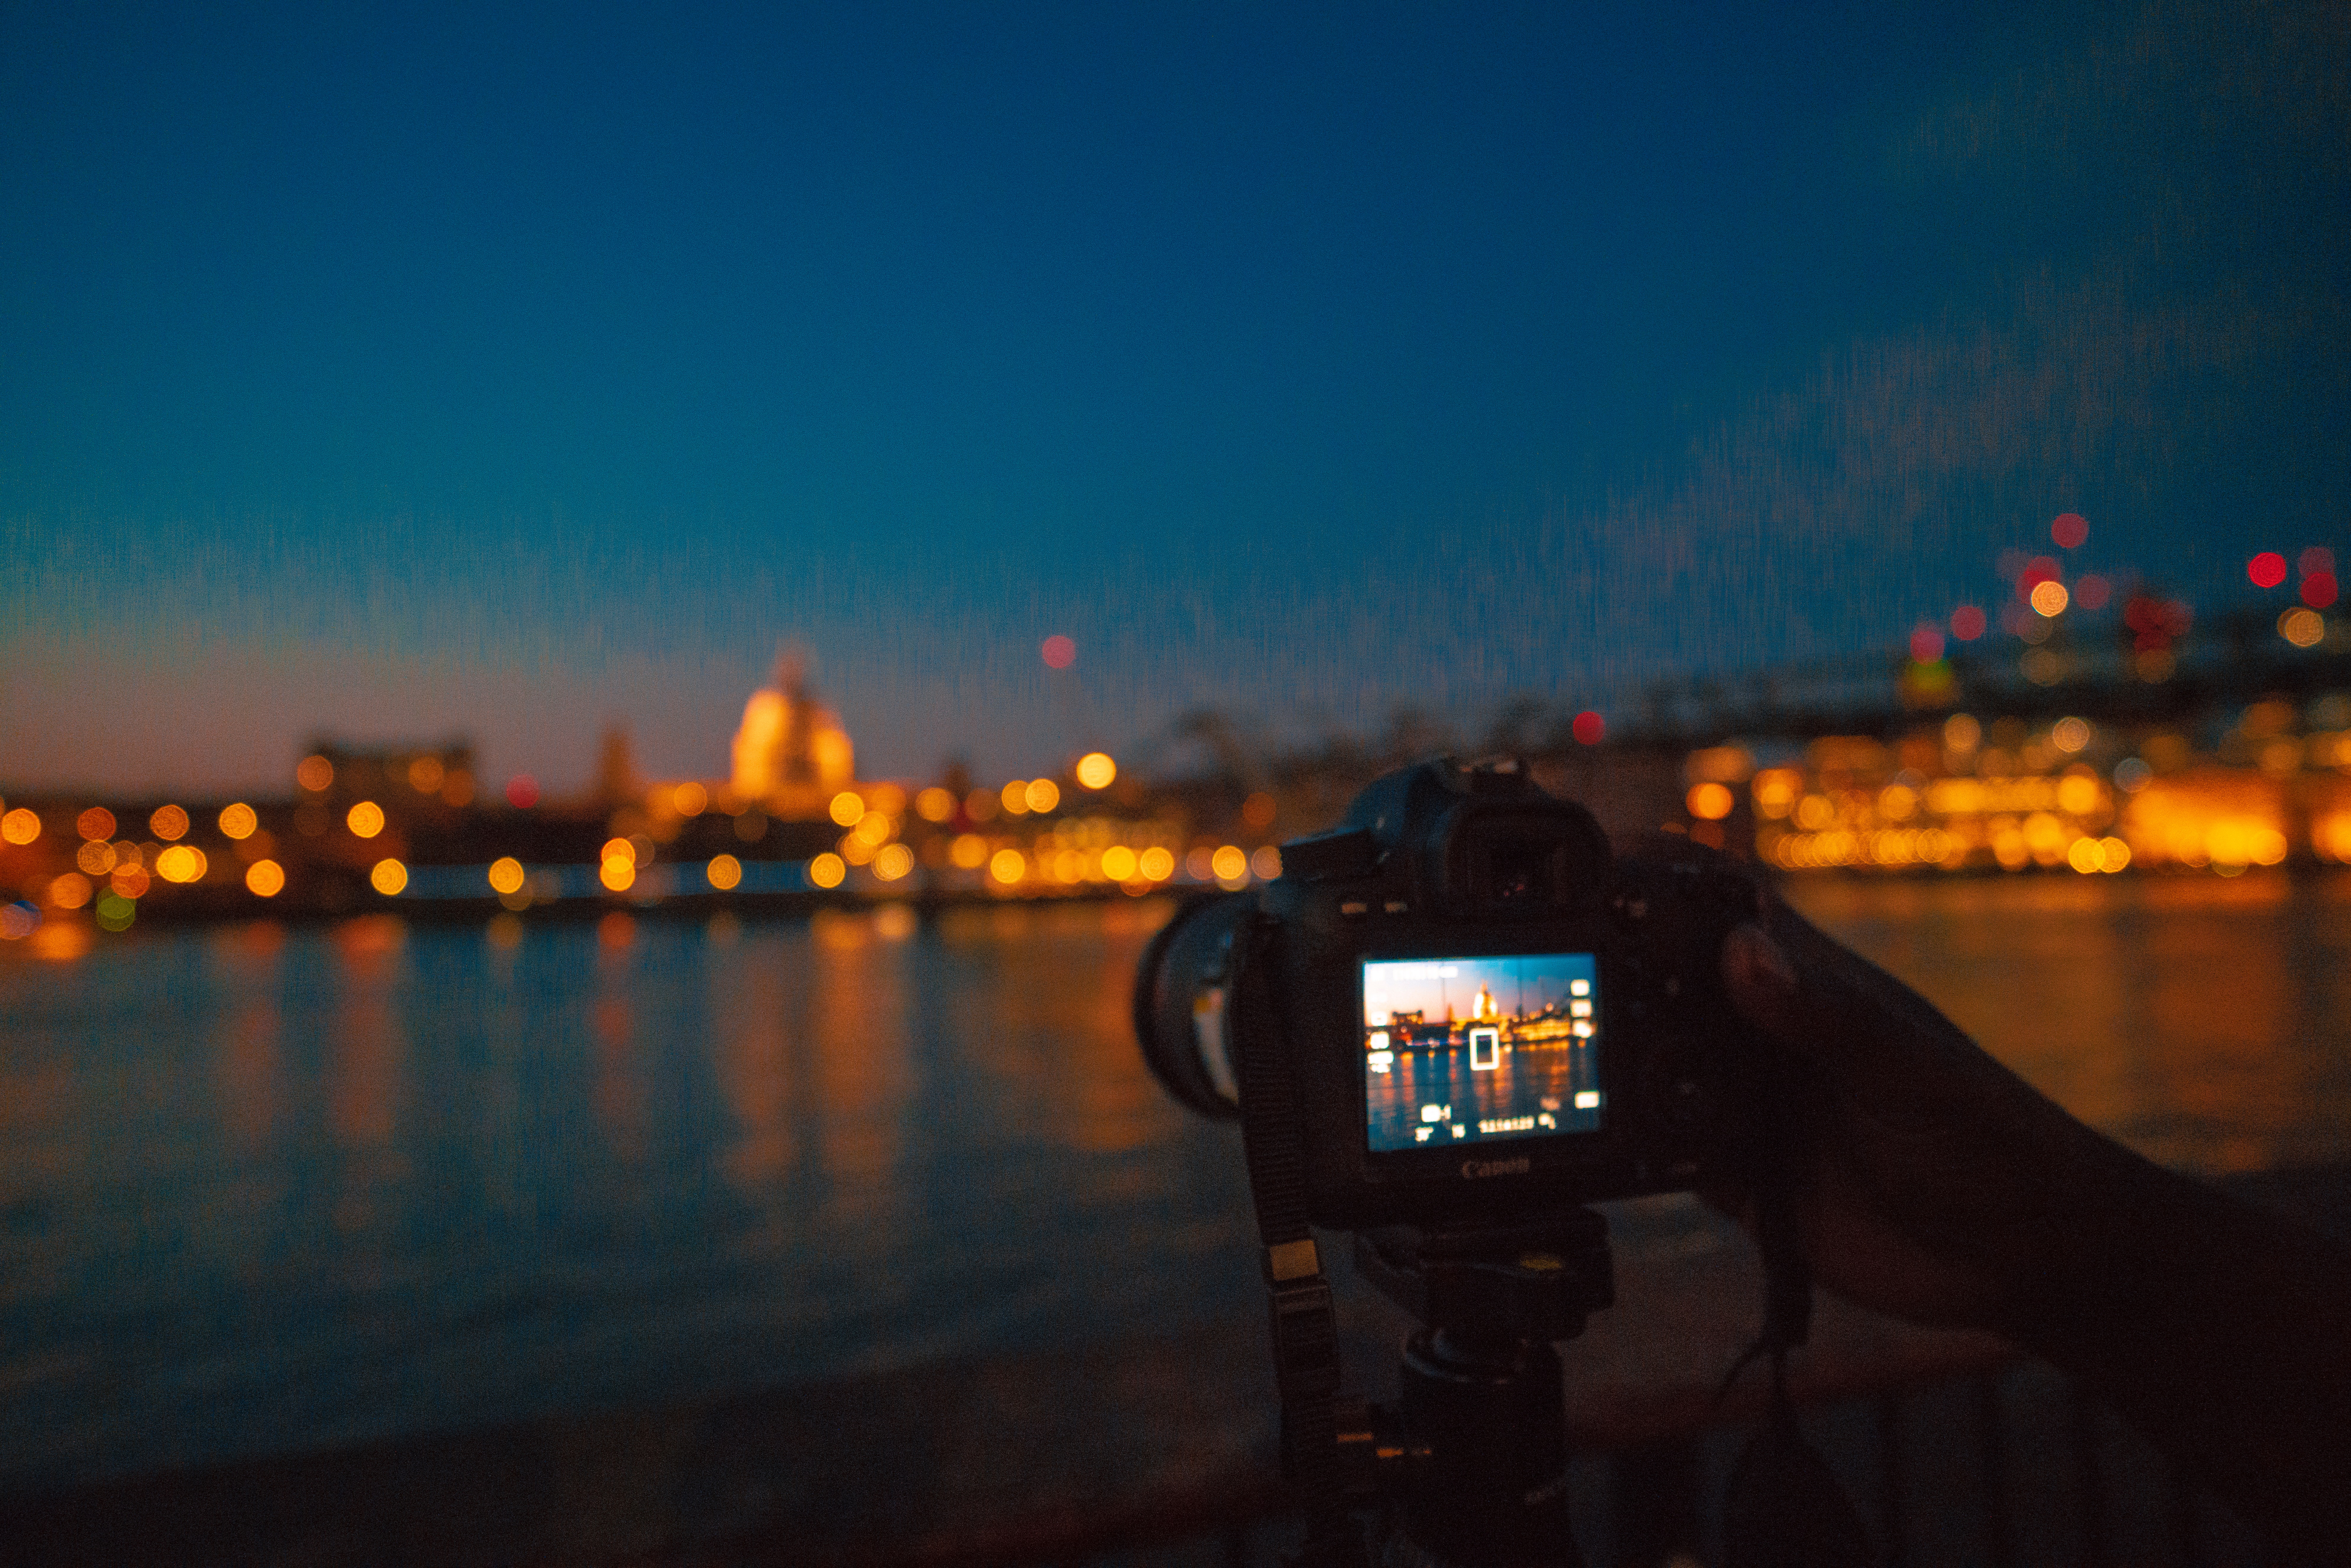
On the other hand, for instance, if you are photographing a city scene at night and want to freeze the action (e.g. cars and people), you will have no option but to increase your ISO. Another scenario that will demand you to raise your ISO is when you are photographing handheld. Most people will struggle to hold the camera steady enough to avoid camera shake at anything slower than 1/60 sec. To counteract the shake, if handheld shooting is unavoidable, increase your ISO to a point where it will let you take a sharp image.
Cameras with Auto ISO settings

Most digital cameras will have an auto ISO setting where your camera will set the ISO based on your shutter speed and aperture. This setting can be useful when you are photographing fast-moving scenarios that don’t allow time to adjust your settings. Auto ISO can make sure that your images are captured at a good exposure level. You should also be mindful that there is a risk that your camera will suddenly increase your ISO really high.
To combat this problem, some cameras have a setting that allows you to set a maximum limit. The downside is that sometimes the shot might be underexposed. So, you should make a judgement based on the scenario that you are snapping at the time and set the maximum ISO accordingly.
As always, the best way to get to grips with any of your camera's settings is to try and test various combinations, lighting, subjects and speeds. Once you know what each setting’s function is, you’ll soon discover how they’re affecting your images.
For the best new and used cameras, visit one of our stores in London, Essex or Stevenage or take a look online. You'll find a vast range of photography equipment at great prices and expert advice. All our advisors are passionate about photography and always happy to pass on their wealth of knowledge.


